Creating stunning high-quality images of your CAD data to use for print, web content, product comparisons, and design reviews, or even interactive experiences is very much essential for product development and product showcasing. SOLIDWORKS users adapted Visualize for its easy, fun, and institutive user interface to create photorealistic rendering of the CAD data.
Having said that, SOLIDWORKS Visualize needed particular hardware with higher graphics, RAM CPU etc, which hurts customers’ wallet. How do we create Photo realistic images without relying much on the hardware?
Introducing xStudio This is 3DEXPERIENCE Works browser-based application that does not require any sort of local installation. Hence no hardware is required. The xStudio is a program that is similar to the well-known SOLIDWORKS Visualize. It enables the user to produce beautiful marketing content for display.
Why xStudio?
The straightforward user interface of xStudio is one of its most significant features. The process is quite simple, user-friendly yet powerful. The project file can be instantly dragged and dropped from the cloud to the xStudio app in the browser.
The layout of the toolbar is structured in simpler way, Following the four Community Space-related tools, starting from the left, are the Insert tool, along with Create Ambiance, Live Preview Rendering, Render Export, and Render Job Monitor. The following four buttons are used to manipulate the viewport. The final button on the far right gives you access to the active views’ Camera Properties. You can travel down the toolbar chronologically through your project thanks to its simple toolbar, which reduces the expertise needed to make renders.
Community Space
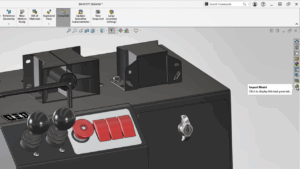
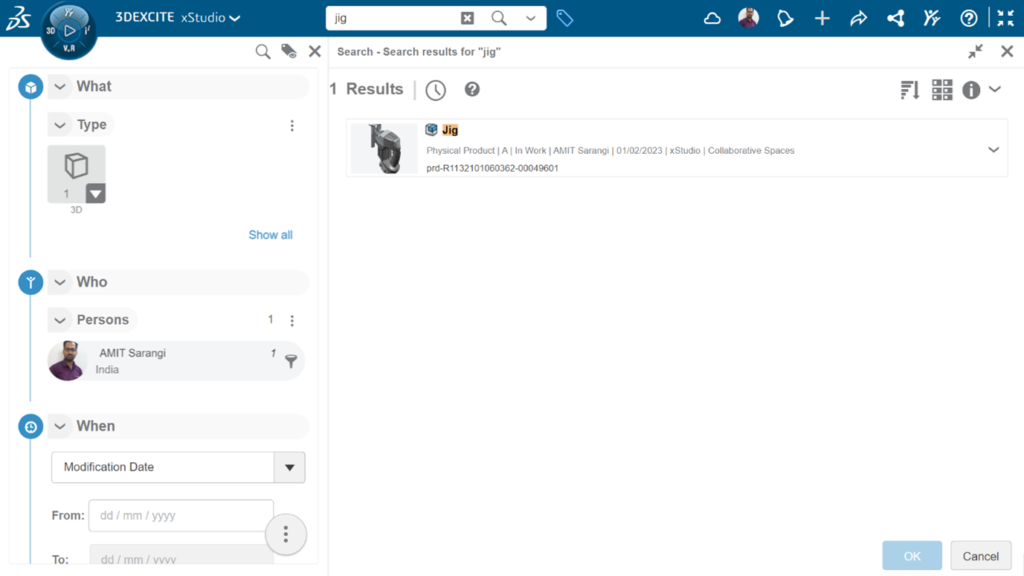
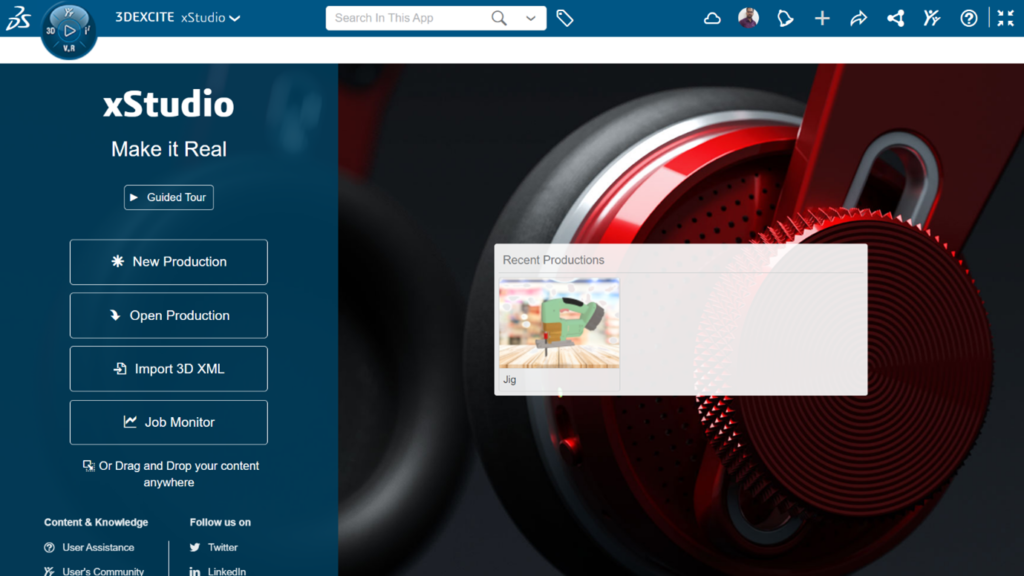
Clicking on “New production” then “Browsing” for the required file is the simplest approach to adding a project to the xStudio interface. The item will be added to the viewport.
Creating Ambiance
It is always a good idea to start with the environment when creating a render and work on the actual geometry and their appearances. A significant part of photorealism is influenced by ambient lighting and color refraction. It must be done initially so that decisions regarding how to adjust appearances can be made more accurately.

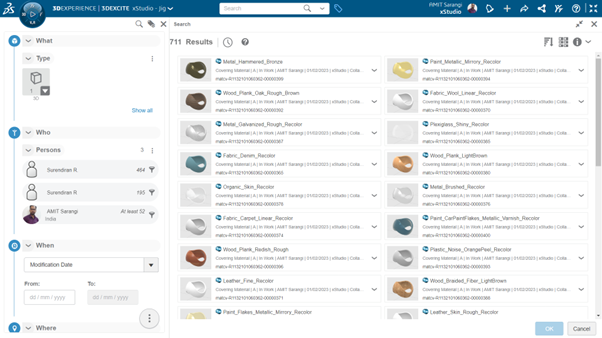
Assigning Materials
“If the materials are already assigned in the CAD tool, do we need to re-apply materials and appearances in the rendering program?” The answer is “Yes”. There is little information regarding the material added to CAD appearances because they often emphasize performance above real looks. This is especially true for materials like wood with irregular color. Additionally, on certain occasions, metal materials imported from CAD software do not appear as they should in rendering tools.
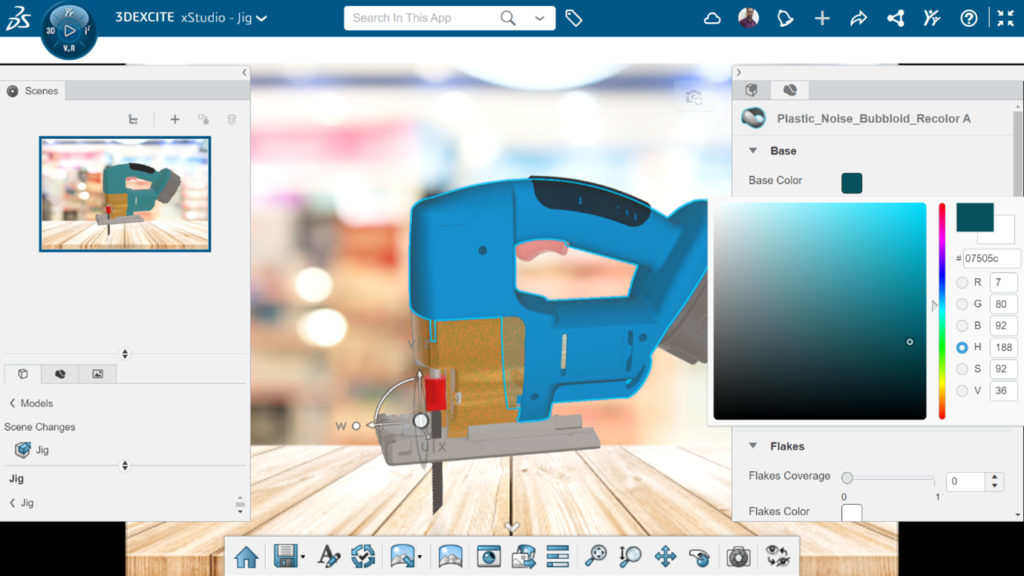
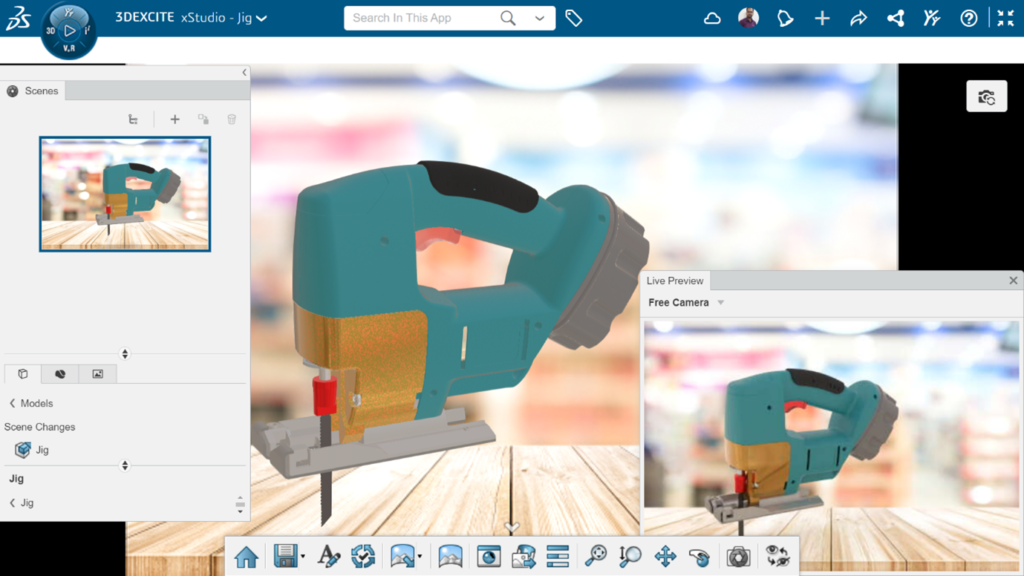
Live Preview Rendering
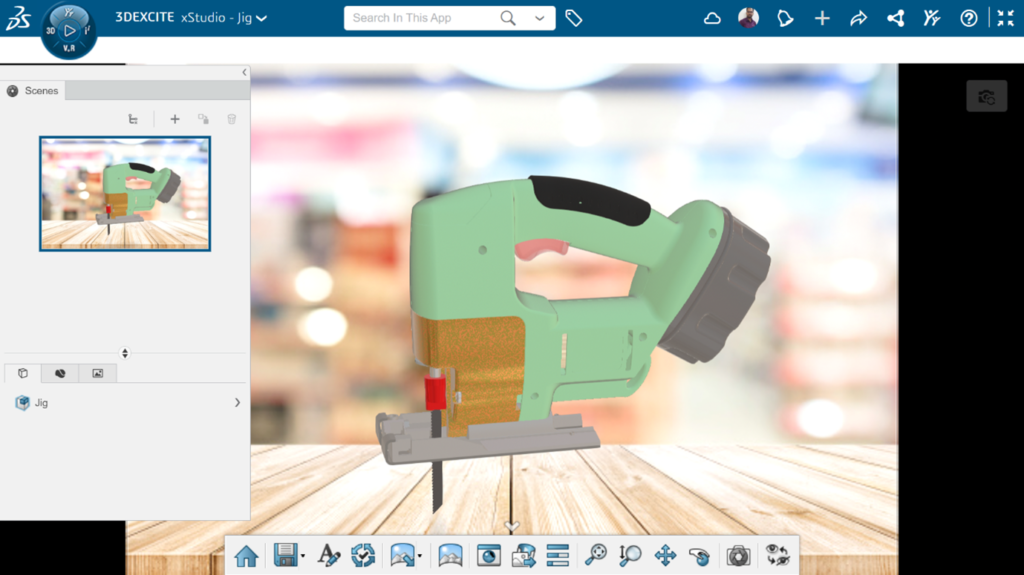
Testing your material and environment settings with the Live Preview Rendering button is relatively easy. The image on the right has materials added using xStudio, whereas the one on the left has materials imported from CAD. The new materials contrast more and are like the finished product. Multiple camera settings must be changed to make the image even more realistic. Ensuring the camera angle is roughly where it needs to be for the final render before examining the camera output. The view can be changed, and the Apply Scene to Camera button in the top right can adjust the camera position.
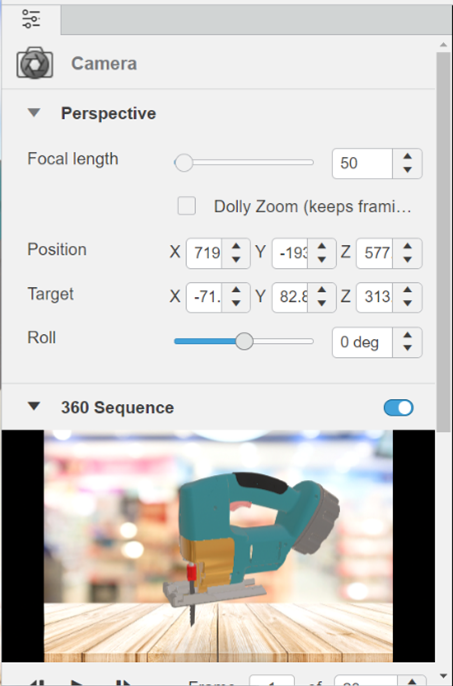
Camera Options
The camera options are displayed by choosing the button on the far-right side of the main toolbar. These parameters will be recognizable if you have worked with cameras or other rendering tools. The Focal Length adjustment is one of the most crucial things to pay attention to. They were primarily used for product marketing, with a focal length of roughly 60mm. 100mm focal length is great for flat and for more neat technical shots.
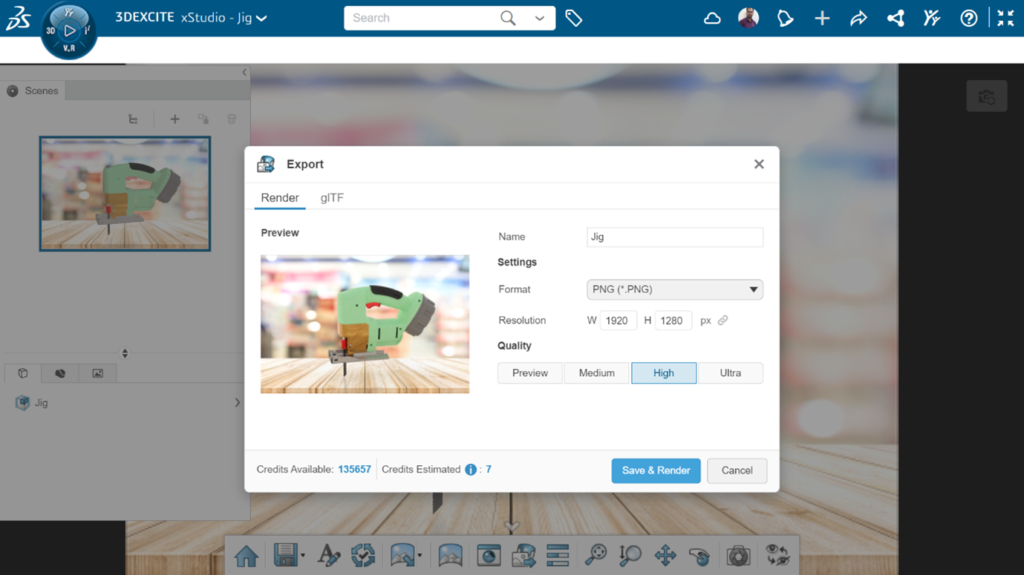
Render Export
We can export our project and see how our final image turns out if we like what we see in the Live Preview. After clicking the Render Export button, pick the options corresponding to your search criteria. Higher detailed and larger photographs require more credits to create. xStudio will need more light passes to produce the final image. The higher the quality, the larger the image. Once rendered, the computer can be utilized for any other job while the rendering is monitored using the Job Monitor application.
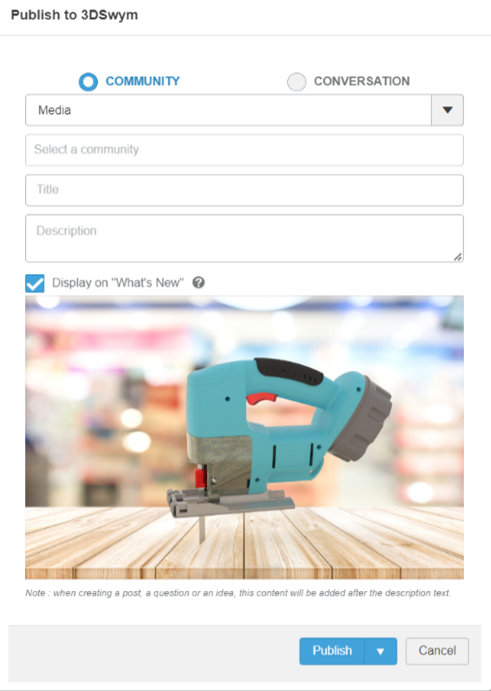
Publish
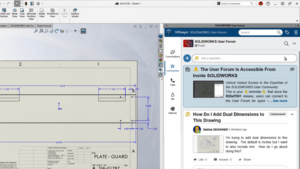
When the rendering is completed, we can publish it! To check what your team thinks of your effort and creativity, post the finished files in the 3DSwym forum in the community or download them to use in your documents.
3DEXPERIENCE xStudio
The xStudio xApp on the 3DEXPEREINCE Platform is remarkably simple to use and can produce photographs of excellent quality without using your computer resources. The straightforward user interface eliminates the need for the steep learning curve that most rendering tools have, making it very simple to follow the desired workflow. The environment, materials and camera properties may all be easily customized by moving few sliders while keeping an eye on the Live Preview mode. The 3DEXPERIENCE platform’s xStudio application has made creating visual prototypes and marketing materials easier than ever.