SOLIDWORKS is a user friendly tool where we can create what we visualize. Creating a rectangular spring in SOLIDWORKS is one kind of special technique. Let see the procedure to be followed to obtain a Rectangular spring in SOLIDWORKS.
Firstly draw the vertical and the horizontal line in the two Different sketches and with the same plane selected of dimension 50mm each.
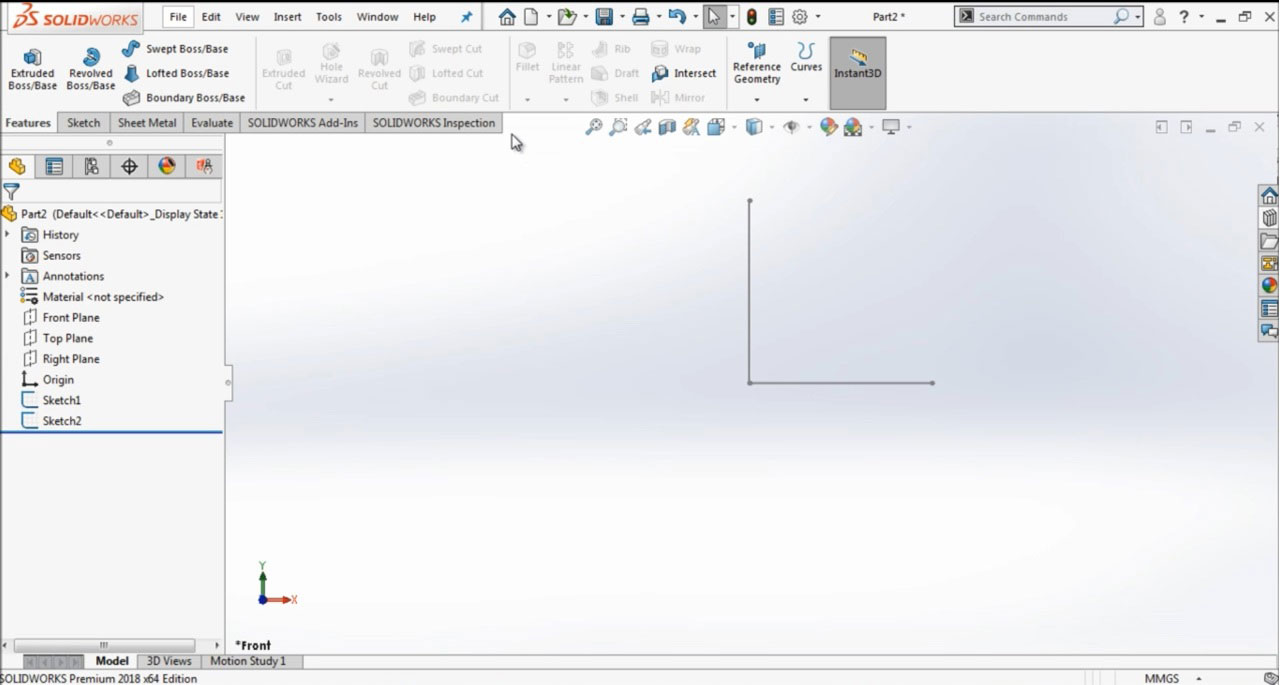
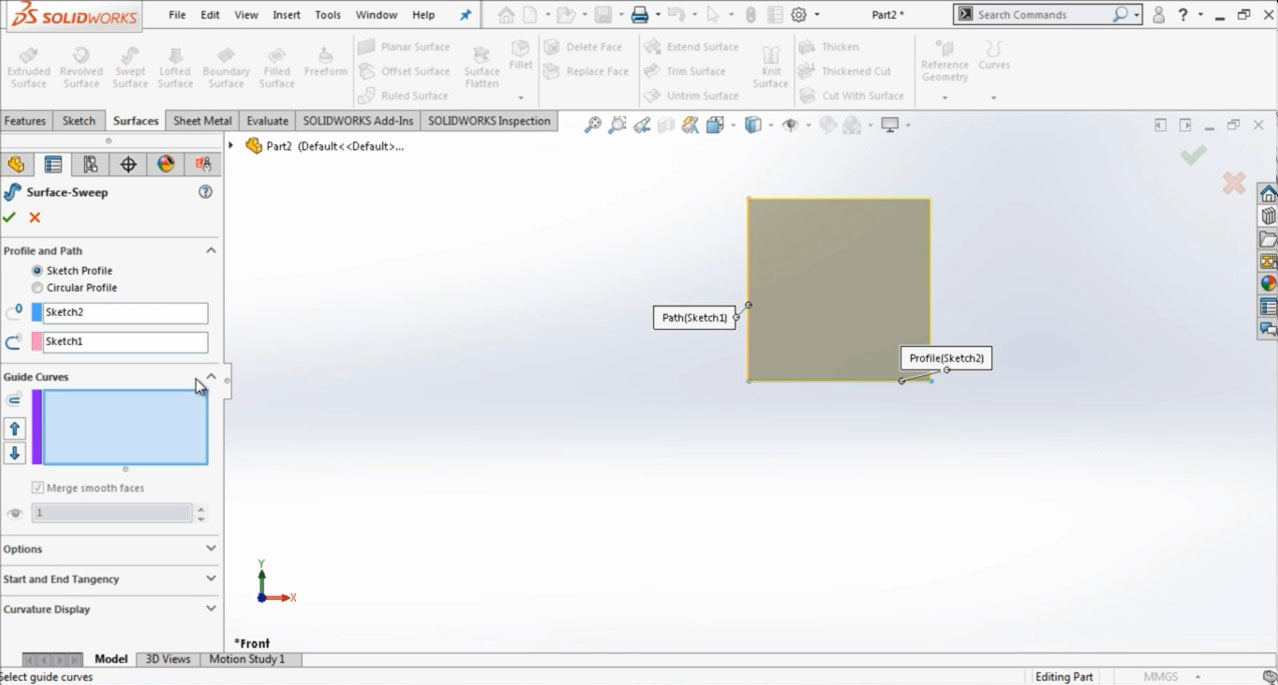
Now exit from the sketch and go to the surface command bar and select surface sweep feature. Now select the horizontal line that to be surface sweep under profile option and select the vertical line in the path option
As shown below.
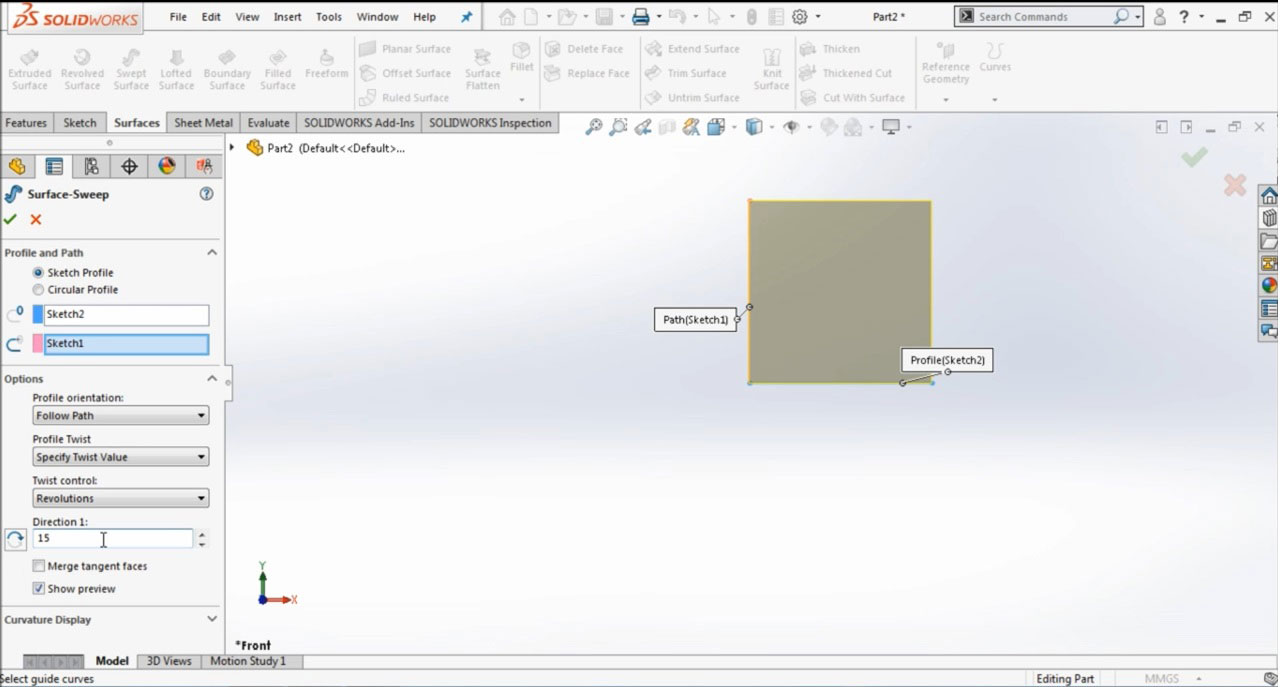
Now unhide the options in Surface-sweep feature. Now select follow path for profile orientation and specify twist value for profile twist and select revolutions for twist control and give 15 revolutions as shown in the picture below.
Now you will see the surface sweep feature applied as shown below.

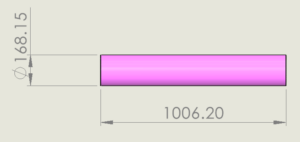
Now select the top plane and draw a square of dimension 50*50 and extrude it up to the end vertex of surface sweep feature.

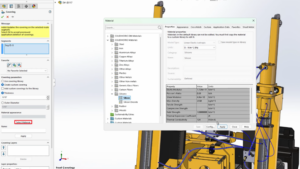
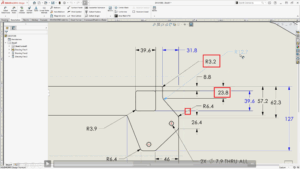
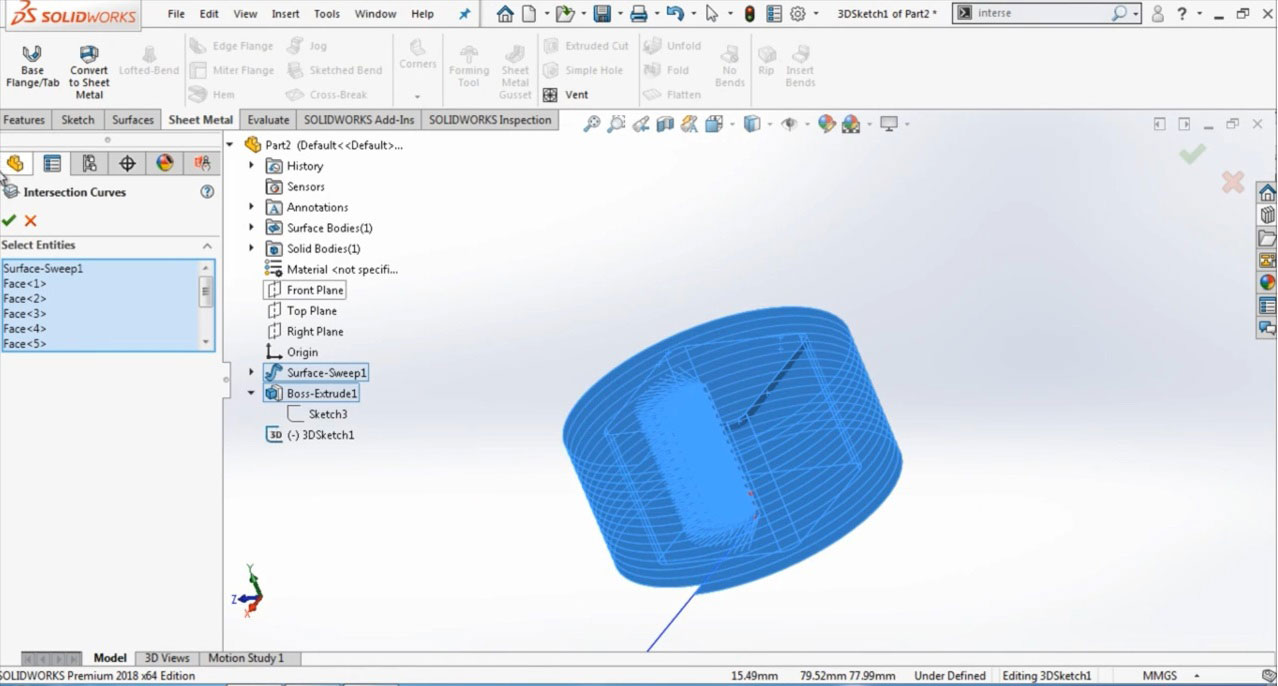
Now select the intersection curve feature and select all the faces of features in the part including all the faces of square and surface sweep as shown in the picture below.
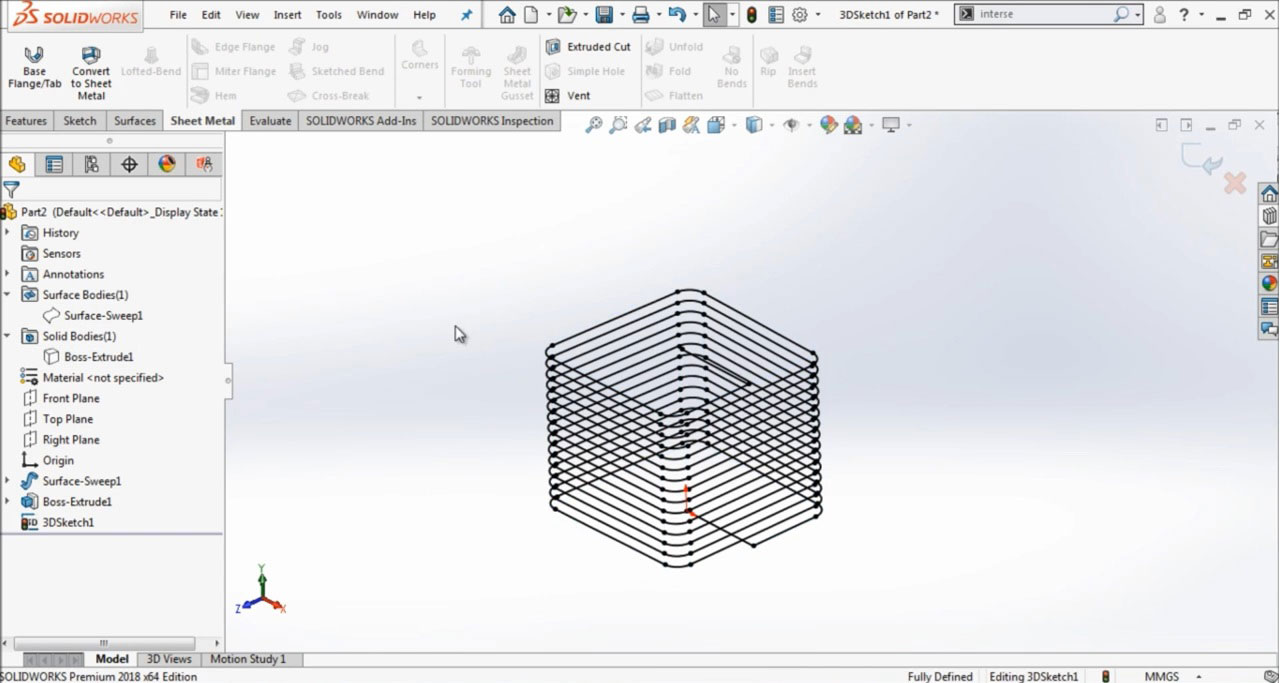
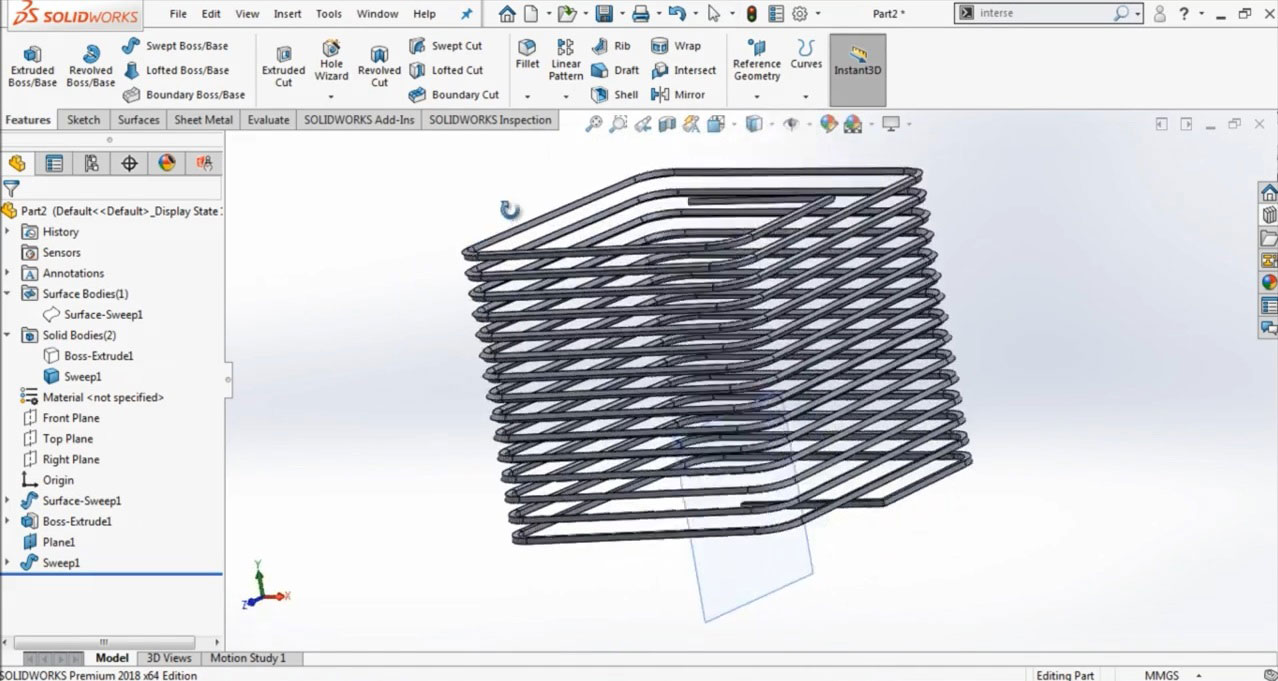
Now go to feature tree and hide the surface bodies and solid bodies now you will see picture as shown below.
Now go to the reference plane option and select the end point and the line passing through it. It will create a reference plane perpendicular to it. Now draw a rectangle sketch on the newly created reference plane. And now apply the sweep feature to get the rectangular spring as shown below.
Watch the complete tutorial on the How to Design a rectangular spring with SOLIDWORKS