From the menus and toolbars that we are familiar with every day in SOLIDWORKS, it is actually able to meet the work well. But if wanting to increase the efficiency of your work even more than before, one option is to create different templates for regular use over and over. And another option is to create specialized programs for your own use.
SOLIDWORKS Macros Creation
Allowing us to perform specific tasks that we need to be easier and faster. Just by clicking the “Run” command in SOLDWORKS, we are able to create programs to use by ourselves. Which is fundamentally the simplest, we call it Macro creation.
Macro. If anyone has experienced it, we can find it in many places, whether it’s Microsoft Excel When we want to automate certain operations, we create that macro and use VBA (Visual Basic for Application) to help view the code of that macro. In SOLIDWORKS there are concepts such as The same thing is, we create a macro for a process and then use the VBA to open the code and make some changes in the direction we want. Actually, not only VBA can be used in SOLIDWORKS, but there are also C # and VB.net to choose according to each individual’s aptitude.
SOLIDWORKS Macros Recording
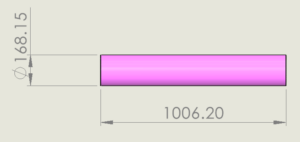
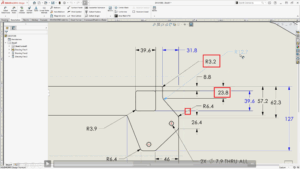
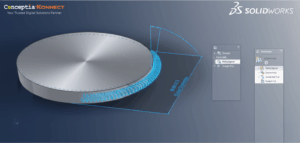
Macro can be done easily by recording the macro. As in this picture, I will create a hole on a solid square piece. In which the hole will be a circle Diameter 10 mm and depth 20 mm, where the distance from the edge is 25 and 30 mm, as shown
Basic Macros in SOLIDWORKS Record & Play
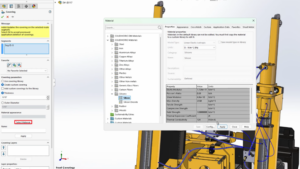
And before I started to build Which means including starting from the click on the surface to define the plane of the sketch and drill holes into that work I will record the macro first. Which is done during the recording of the macro will be kept in all formats This macro recording can be done by going to Tools> Macro> Record and then starting the hole drilling process.
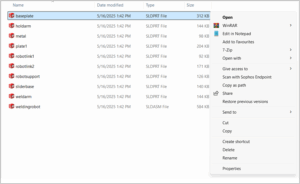
In the hole drilling process, it will start by selecting the plane surface. Click to create a sketch, draw a circle, set the distance of 25 mm and 30 mm, specify the line size through the center of the circle 20 mm. Click out of the sketch, extrude-cut, set the distance equal to 25 mm and click the last check mark. Then it will stop recording that macro and save that macro to where we want it Which the surname will be * .SW VBA Macro (SWP)
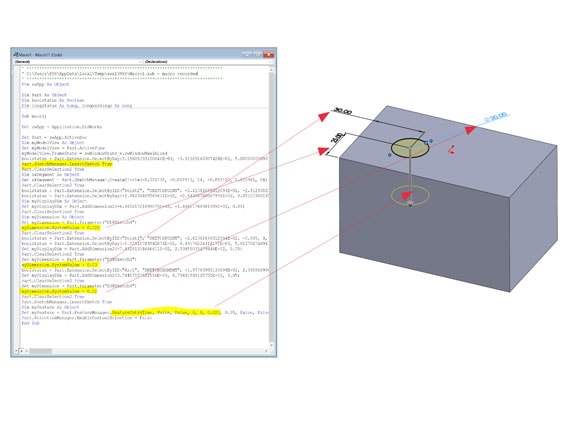
And the next step, we will look inside the macros that we have saved, how they look inside by going to Tools> Macro> Edit and selecting the macros that we have saved Its face is what it shows.
Take a good look at the code, it seems difficult, but not too difficult with the language of VB that is easy to understand. Which will start from top to bottom respectively Start by creating sketches (InsertSketch) Then I created a circle, set the distance 25 (myDimension.SystemValue = 0.025) and set the interval 30 (myDimension.SystemValue = 0.03) set the circle size 20 mm (myDimension.SystemValue = 0.02) and set the depth of drill 25 Mm (FeatureCut4 = 0.025) as shown in the code
I returned to the model that I had specified. I removed the extrude cut feature that was already specified. Then I go to Tool> Macro> Run and select the saved macros. Then I can see that I can create a hole without having to write a sketch and make a new ExtrudeCut.
Run from the code that has been created. And we are able to create and apply to many
projects, which will greatly reduce our work time. If you want to change the size of the hole, the distance can be done by editing the numbers in that macro straight away. Which is very convenient to feature many different sizes and can be picked up immediately
However, this is just an example of how to start creating your own program in SOLIDWORKS.