Using the Derive Sketch Tool in SOLIDWORKS
The ‘Derive Sketch Tool in SOLIDWORKS’ option allows the user to derive or extract sketch within the part to any desired face. The two sketches share the same characteristics and changes made to the original sketch are reflected in the derived sketch.
The following illustrates the steps involved in deriving a sketch within the same part.
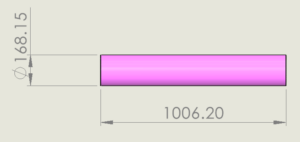
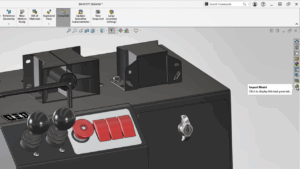
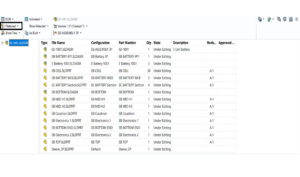
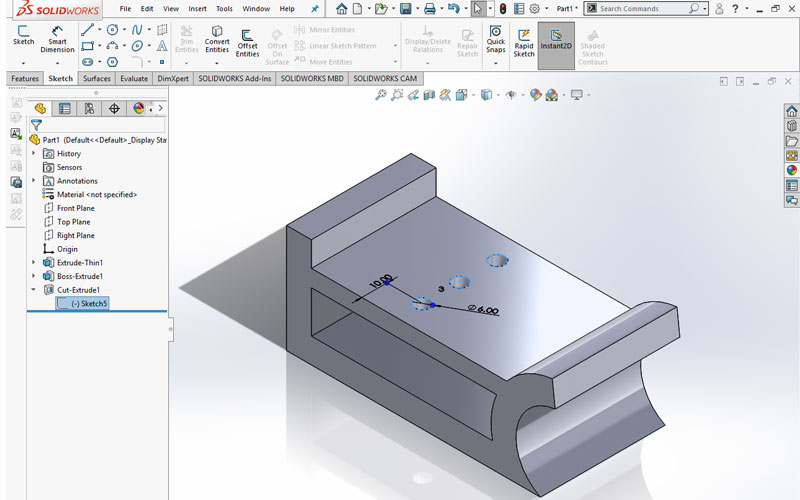
1.Select the sketch from which you want to derive a new sketch.
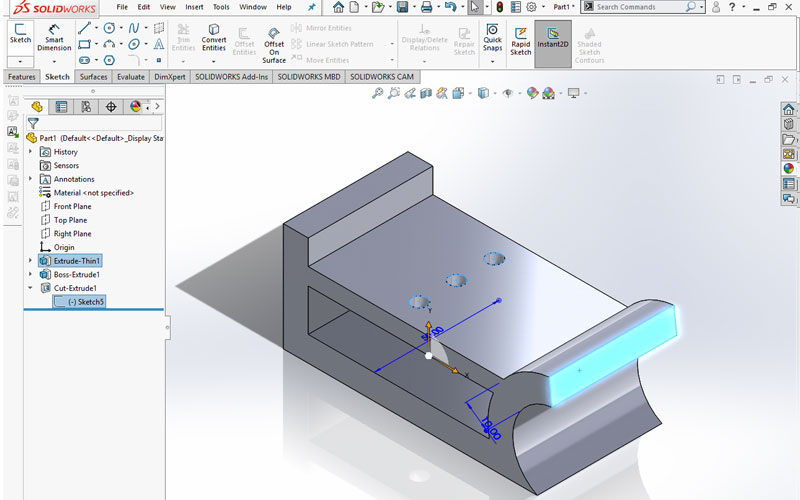
2. Hold the Ctrl key and click the face on which you want to place the new sketch.
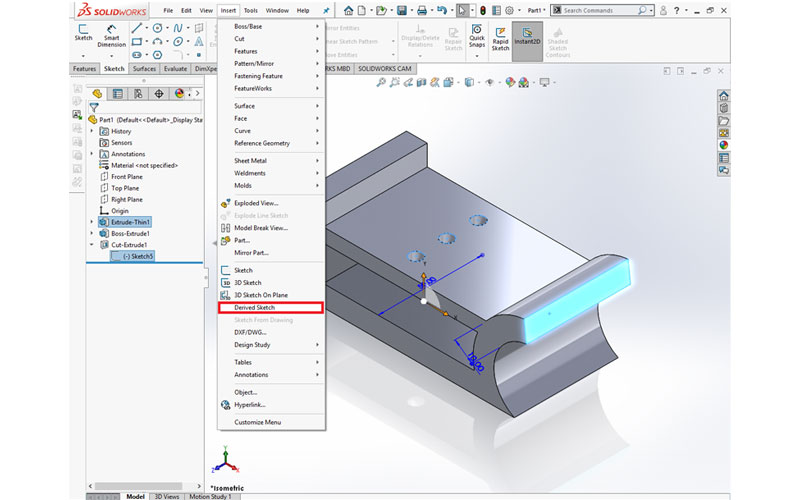
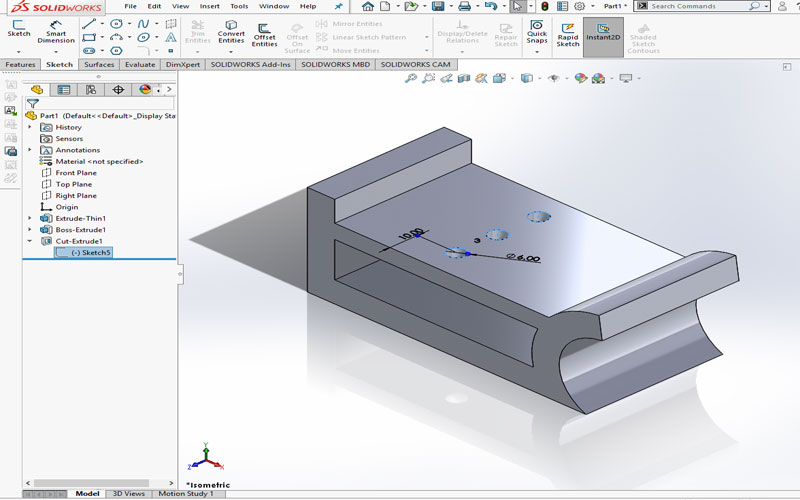
3. Click Insert > Derived Sketch. The sketch appears on the plane of the selected face.
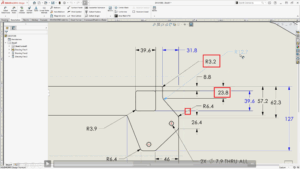
 4. Position the derived sketch by dragging and dimensioning it to the selected face.
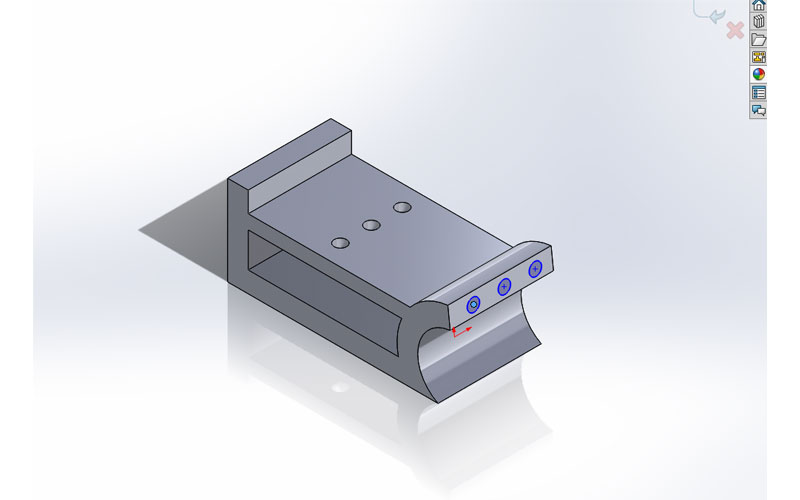 5. Perform any required operation. (Extrude cutout is performed below).
We hope we explained the Deriving sketches within the same part in SOLIDWORKS using Derive Sketch Tool in step by step process with required graphics.