It can be quite a time consuming process creating renders, the process of tweaking settings in search of perfection can easily swallow time. The following tips are not only intended to help improve the quality of your renders, but also reduce the time taken to get to the final stage.
- Rotating the environment
Quite often it is advantageous to put lights into your render , they will help to illuminate your model in desired areas and will create attractive highlights across your design. However, more lights means
more reflections, more reflections means your render will take longer to output. When setting up a
render it can sometimes be a good idea to avoid lights if under pressure to complete work. This
makes it challenging to get an attractive output.
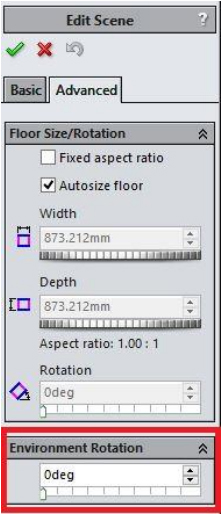
As an alternative to this technique; rotating the scene to differing angles in order to improve the look of a design can work wonders. It will help to improve the look of a model, by moving the position
where highlights strike the edges of a product. This technique will not increase render time either,
keeping things nice and simple. This can be adjusted by going to the Display Manager, navigating to
Scenes, Lights and Cameras and editing the Scene.
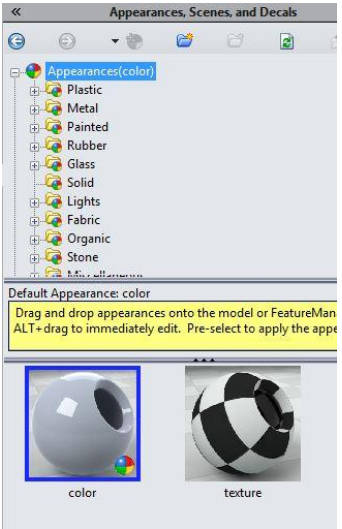
- Applying appearances which “look Right”
Under the Task Pane there are a wide variety of appearances available. Quite often you can find the exact appearance for the look you’re going for. However, these can sometimes not quite look right once applied. There are a variety of reasons for this, but quite often it can be attributed to the scene
being used. Different scenes can make appearances look entirely different.
A better way of working is often to apply the appearance which looks correct. Rather than the exact appearance specification created for a material. For example; I have found that the high gloss plastic can work well for any glossy painted surface , it doesn’t necessarily have to be plastic.
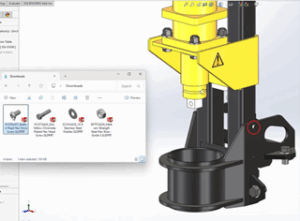
- Appearance alternatives
Sometimes the desired appearance isn’t available. In some situations this means making do with an appearance which doesn’t suit the rendered design at all. Rather than trying to tweak an
inappropriate material to make it fit the look of your design it can often be a much better idea to
download an alternative. There are two possible options here;
You can look online for free texture maps online- You will often find that a pleasing result can be achieved by searching for free texture maps for the appearance you want. This technique allows you to achieve pretty much any appearance. Once the appropriate image has been found online it can
be applied onto your model by dragging on the default Texture appearance, which you can find by
clicking on the appearances library in the task pane. You can edit the appearance and change the
image to any image that can be downloaded.
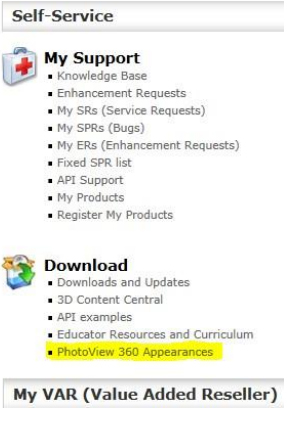
If you are a subscription paying customer you can access appearances online through the customer portal. There is a link to Photoview 360 Appearances, by following this you can access luxology’s online library of appearances. These can be downloaded and used within SOLIDWORKS. There are
some really good appearances in here, it is worth checking out
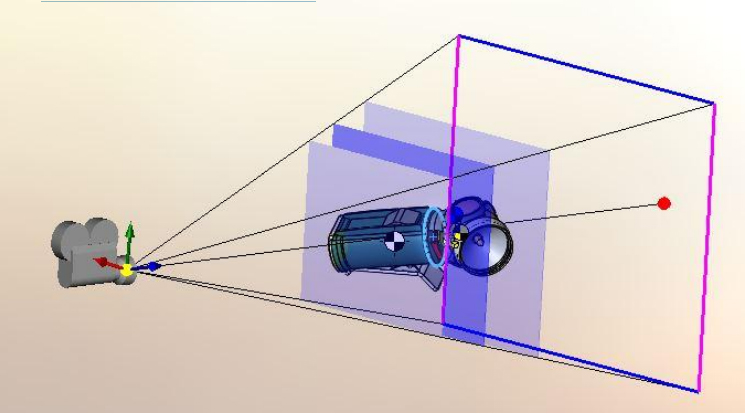
- Creating Depth of Field
Depth of field is one of those things that will differentiate your render, and make it appear as if it has been shot on a high quality SLR camera. In order to use these settings in SOLIDWORKS you will first have to create a camera view.
Camera views are a brilliant way to save a view and easily edit the perspective shown on your design. They are accessed under the Scenes Lights and Cameras in the Display manager. If you have Photoview 360 turned on when creating your camera you will be able to edit the Depth of Field
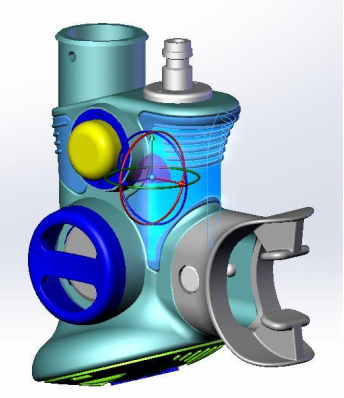
options. Once ticked on the best way to set this is using the Focus by selection option. This option
allows you to select your model in the area you want to focus. Once set the important option is next
to the symbol, This is your F-Stop. In a camera this would be like altering the aperture, so
small numbers give the smallest depth of field.
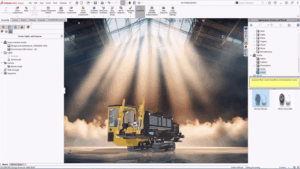
- Creating a reusable render setup
One way to create a setup which can be reused over and over again is to create a standard render assembly, with this technique models can be dropped in when a render is required. After a bit of experimentation with Photoview 360 you’ll discover which environments and setups work well, you
may want to add your own background into the scene (This can be done by editing the scene, as
described in section 1). You could also consider adding a floor appearance; this can be done by
Right Clicking on the scene in the display manager.
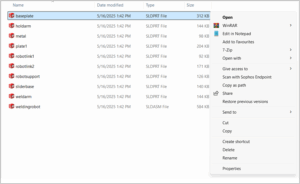
Once the assembly is setup and ready for a render, the assembly can be saved, just by going to file>save as. A model could be dropped into this setup as and when desired. A full set of mates may not even need to be added, you may find it easier to add one so the model is the right way round. By
Right clicking on the model you can use Move with Triad, this will allow you to get the model to the
best position visually. Once complete right clicking again will allow you to fix the model in position.
You can then render your design.
Obviously there are a whole load of other options out there in Photo view 360. However, these tricks when used well in combination are an excellent way to produce attractive renders while saving you precious time