Assemblies are created in SOLIDWORKS either by adding components and adding mates as in the Bottom-up approach or creating the components directly in the assembly environment as in Top-down approach. Starting from SOLIDWORKS 2024 onwards, a new option called “Make multibody Part” has been included to convert assemblies into Multi body parts.
As the name suggests, this option converts the entire Assembly into a multibody part. Other than this, the multibody part created also has the links maintained with the original assembly file. This means that any changes made to the assembly file is propagated to the multibody parts file. However, any changes made to the part file are not reflected back in the assemblies.

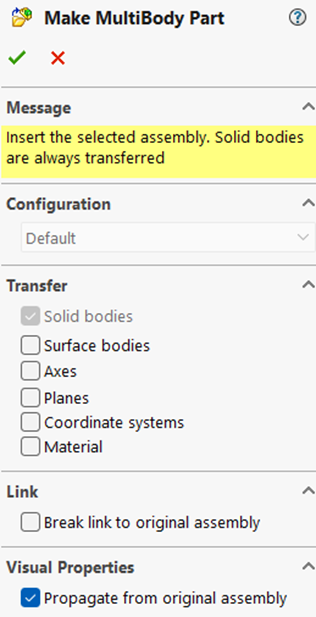
The various options available in the “Make Multibody part” property manager dialog box include: The transfer of solid bodies, axes, surface bodies, planes, CSYS, and material. The use of break link destroys the link with the original assembly file. The visual properties can also be propagated into the part with the use of check box.
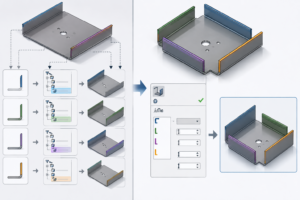
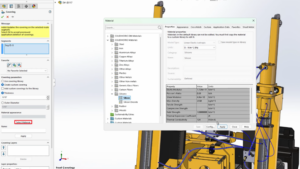
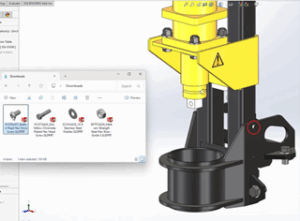
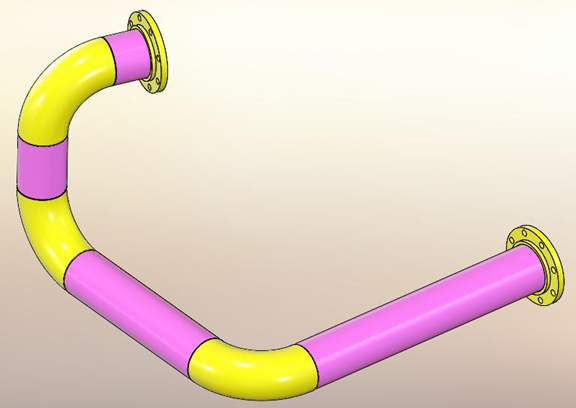
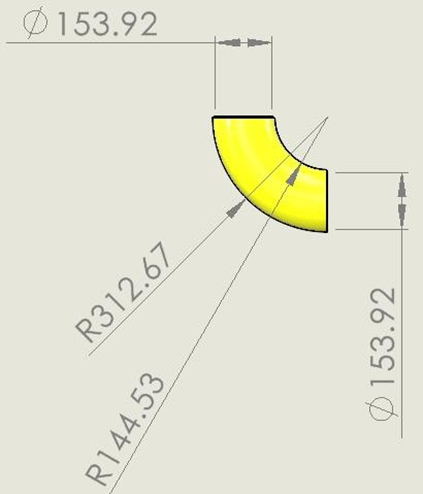
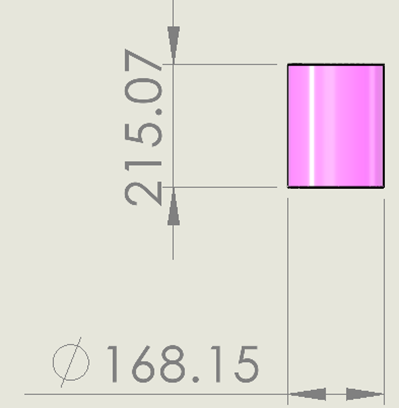
A use-case of the option “make multibody part” in assemblies would be the generation of the drawings of individual pipe segments and fittings in a pipe route. For example, we have a pipe route as shown below.
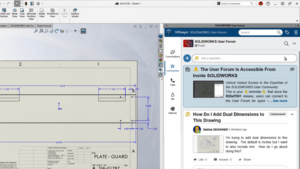
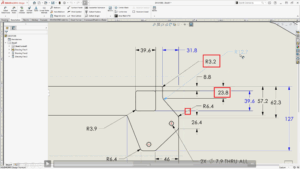
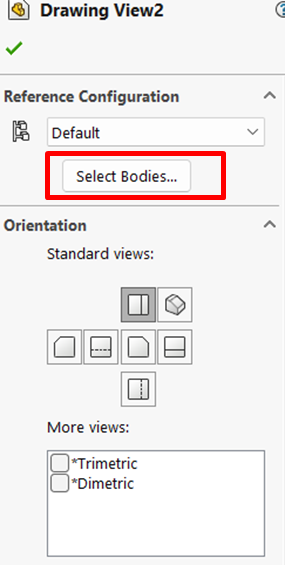
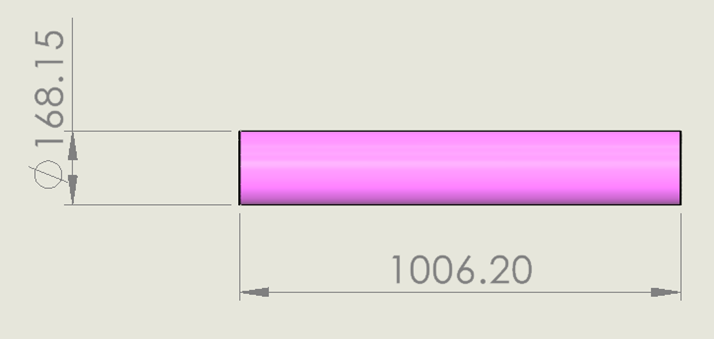
To generate the drawing of the components of this pipe route, first, convert the pipe route subassembly into a multibody part and save the file. The views are added in the drawing file. By selecting the required body in the select bodies option, individual drawings of the required parts can be easily generated as shown below.
Frequently asked questions:
Converting an assembly into a multibody part is highly beneficial for improving file performance and protecting intellectual property. It reduces large, complex feature trees into a single file, which makes top-level assemblies load much faster. It is also an excellent way to simplify a model before sending it to a vendor, as it hides internal proprietary design details while maintaining the external geometry.
The most efficient method is using the Save As function:
Open your assembly.
Go to File > Save As.
Change the ‘Save as type’ dropdown to Part (.prt, .sldprt).
Under the geometry saving options, choose All components to preserve the visual structure as individual solid bodies.
Yes, in the new part file, original assembly mates are removed. Because the components are converted into static solid or surface bodies within a single part file, they lose their dynamic degrees of freedom. However, their spatial positions relative to one another are locked exactly as they were in the assembly at the moment of conversion.
If you use a standard Save As command, the link is broken, and changes won’t sync. To maintain a live link, you should use the Defeature tool (with the ‘Save as a new document’ option) or insert the assembly directly into a new part using Insert > Part. Checking the “Link to original part/assembly” option ensures that any geometry updates in the parent assembly cascade down to your multibody part.
When saving an assembly as a part, SOLIDWORKS gives you three geometry preservation options:
All Components: Saves every single part as an individual solid body. (Best for general performance enhancement).
Exterior Faces: Saves only the visible outer surfaces as a surface model. (Best for shrinking file size drastically and hiding internal IP).
Include Specified Components: Allows you to manually choose which internal or external parts migrate to the new file.