One of the most basic parts of SOLIDWORKS is sketch. Every design starts with sketch, if the sketch fails; your 3D model probably fails. In this case there are several reasons why sketches fails, but they can be included with dimensions, geometry and relations. In this tech Blog I will be explaining a feature in SOLIDWORKS: Repair Sketch. Let’s take a look on this tool.
To access Repair Sketch in SOLIDWORKS:

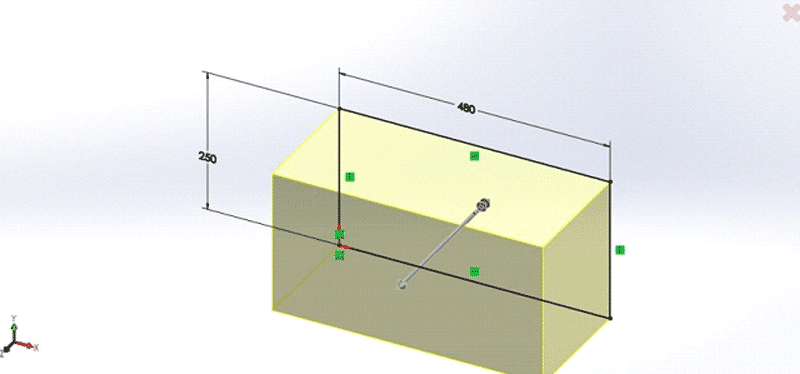
- You can find it under Tools>Sketch Tools>Repair Sketch. Let’s take look at the following sketch:
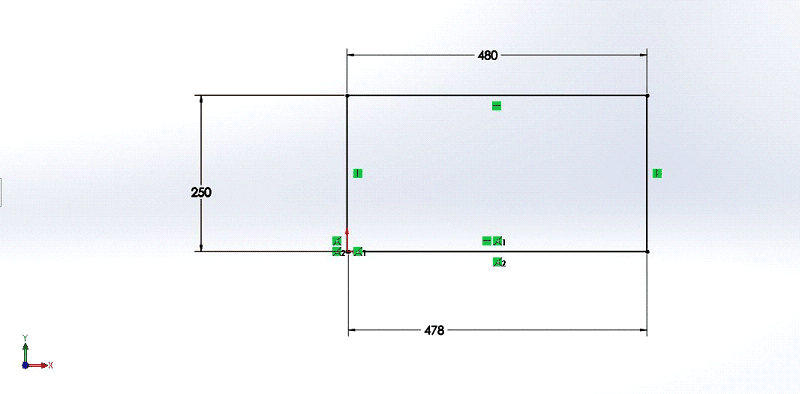
- In this sketch everything seems to be correct. But when we create a new Boss extrude with this sketch, I unable to create the feature.
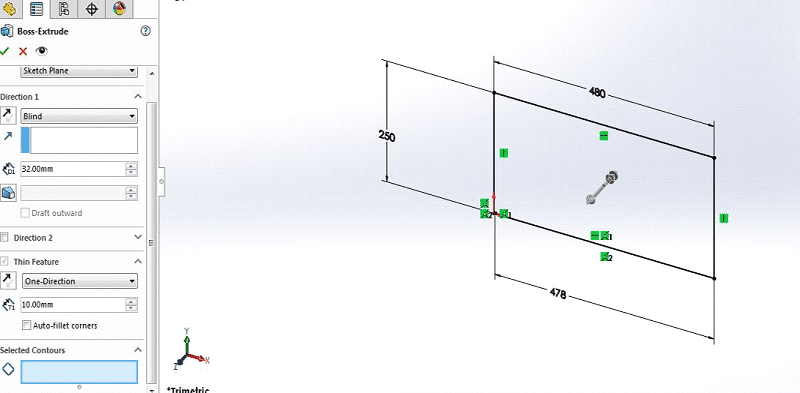
- In this case go to repair sketch feature, the repair sketch dialog box appears automatically. Set the gap as 6.5mm and click refresh. The one error appears with the Magnifying glass on the screen will look like this:
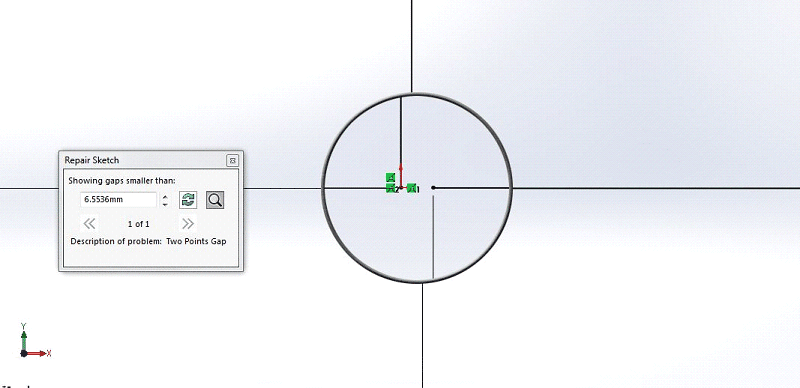
- This issue is solved by dragging the sketch from one endpoint to other end point, so point merges each other. And finally we refresh again in repair sketch, it returns message that no problems were found.
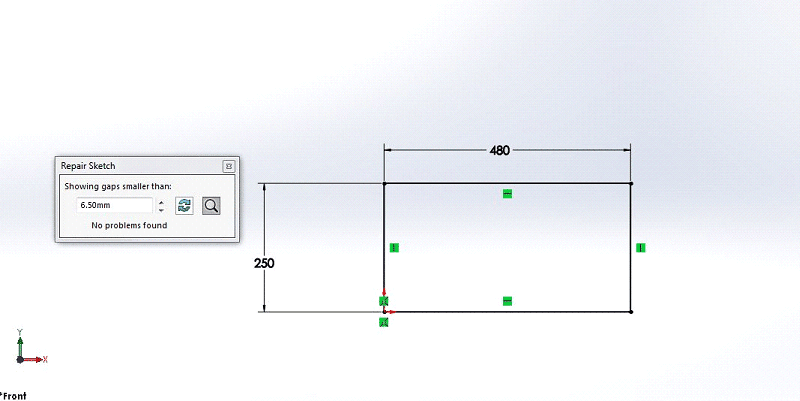
- Now we can close the Repair Sketch Dialog Box and create the Extruded Boss feature successfully.
- Sketch repair tool can make your daily work easier and faster.with the help of this tool you can search your small error in sketch and you can point out error in the sketch by magnifying glass, it shows the description of problem.





my repair sketch default increment is .47 FEET.
If I click gap size down, errors go to “no prob’s found.
…but the problems are still recognized by SW. How do I change default increment for Repair Sketch?
Leave a comment