To quickly complete the designs in SOLIDWORKS, one of the methods is by using a lesser-known tool called “Smart Components”. Smart Components are those frequently used components that may be required in assemblies. Examples of some of the Smart components in SOLIDWORKS used in assemblies are as follows:
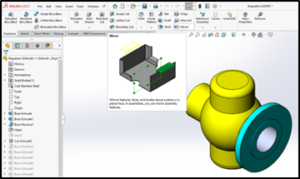
- A connector with mounting screws, nuts, screw holes, and a cut-out
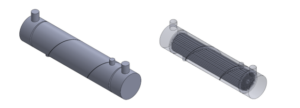
- A retaining ring with a groove
- A motor with bolts and mounting holes
- Door handle with mounting screws and holes
The reason why these components are termed “smart components” is because, when these components are placed in the assemblies, they bring in all the information of the associated/linked components and features along with them. Hence, the time required to add the additional components and features is avoided.
The general steps involved in using the smart component are:
- Create the smart component by creating the assembly consisting of the component and features to be included using the “Make Smart Component” option
is available in the Assembly module.
- Save the assembly consisting of the smart component after making the selections.
- Insert the smart component into the required assembly and position the component by adding the required mates.
- Invoke the smart feature by clicking on the “Thunder bolt” icon.
- Provide the appropriate references to add the associated components and features.
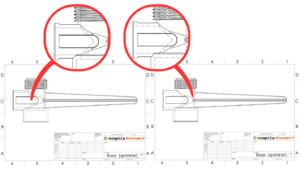
Here, we take the example of a door handle, which is a simple yet frequently used component in assemblies. The handle is to be converted as smart component by linking to the screws (associated components) and the holes(features).
The various steps involved in the conversion to a smart handle are as follows.
Step 1:
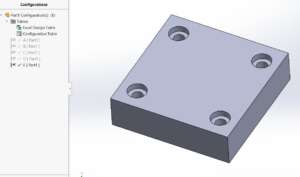
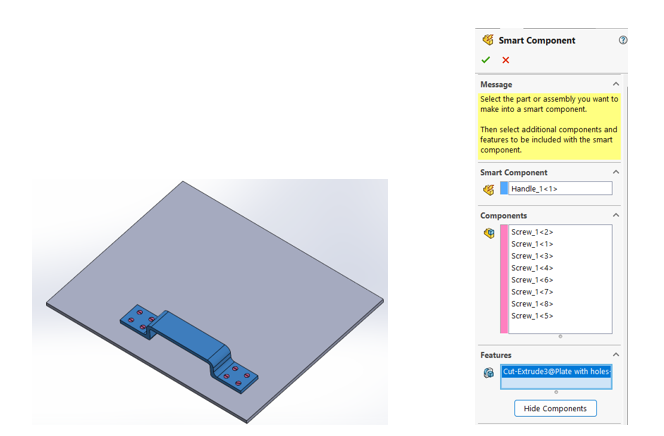
The assembly is created by adding the handle as the component into the plate with holes and is located in position using mates. The screws are then added to the handle.

2. Using the Make Smart Component dialogue box, the smart component (handle), the associated components (screws) and the features (holes) are selected, and the assembly is saved along with the components.
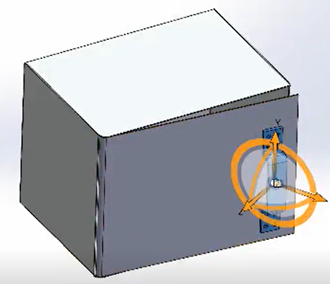
Step 3:
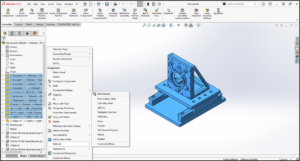
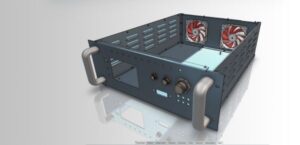
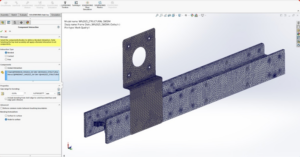
Inserting the smart component into another assembly (Control panel box assembly) by adding the simple mates and positioned.
Step 4:
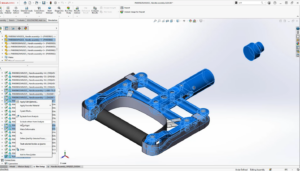
Invoke the thunderbolt icon in the smart component by clicking on it.
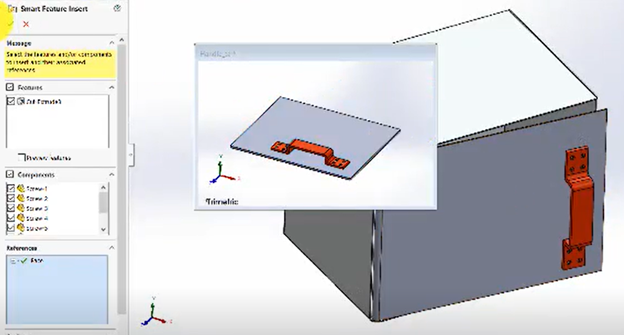
Step 5:
Select the face reference to add the screws to the handle and holes to the door assembly.
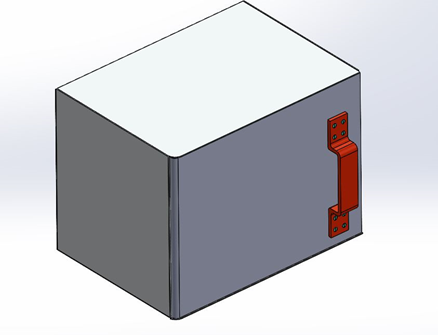
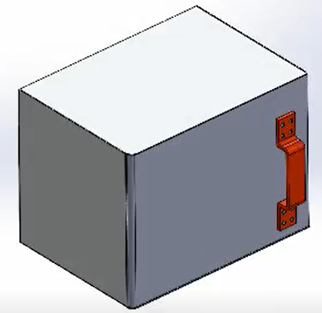
Step 6:
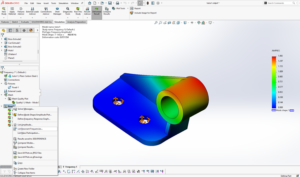
A Smart component(handle) added to the Door assembly along with screws and holes.
Smart Components in SOLIDWORKS offer the flexibility of adding associated components and features that would otherwise consume considerable time and, hence, the completion of assemblies. This tool can considerably enhance the productivity and completion of designs and reduce the chances of any errors resulting from the non-inclusion of any required components. For this reason, the name given to such components is called “Smart Components.”