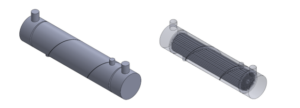
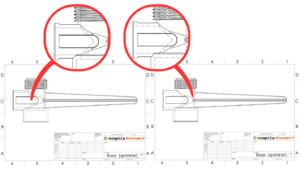
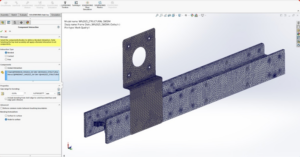
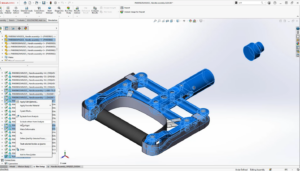
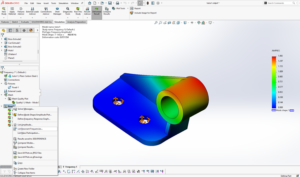
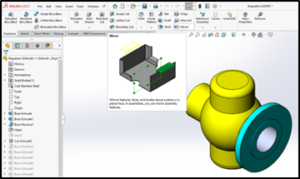
There are a set of Forming Tools for punching Sheet Metal models inside the Design Library in SOLIDWORKS. You can find these items in the Forming Tools folder. There are a number of useful tools here: ribs, lances, Louvers and extruded flanges, to name some of the categories. However we can customize our own forming tool depending upon our requirements, the following example illustrates it .
Here’s how to do it
- The first step is to create the desired geometry that you would like to punch into your model. Initially this can just be a very basic sketch and extrude drawn out on a flat plate.
- Now go to forming tool option, SOLIDWORKS > Sheetmetal > Forming tool
- This can be launched from the sheet metal toolbar
- Two property boxes are contained within this command.
- One for a stopping face in green, and one for faces to be removed in red/pink.
- The file is now complete, when saving the file there are two options;
- Saving the files in the Design Library\Forming Tools\ as any SOLDIWORKS part (.sldprt/.sldlfp/.sldftp)
- Saving the files in any folder on your machine, but saving it as a SOLIDWORKS forming tool part (.sldftp)

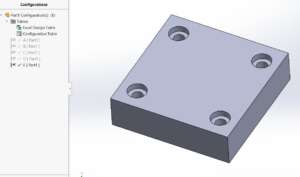
Figure 1: Customized forming tool depending upon requirements.
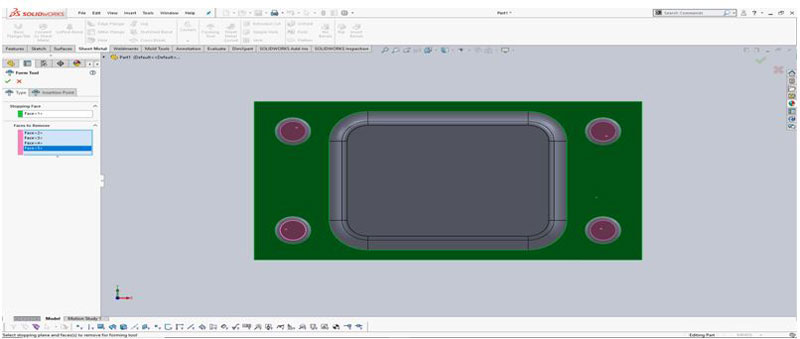
Figure 2: Selection of stopping face and faces to be removed.
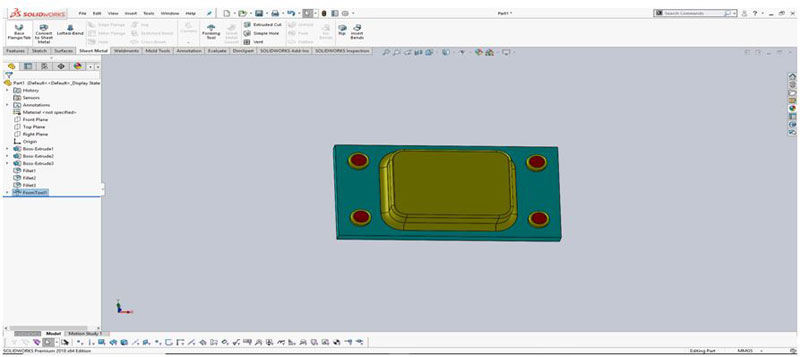
Figure 3: Forming tool ready to get saved in library.
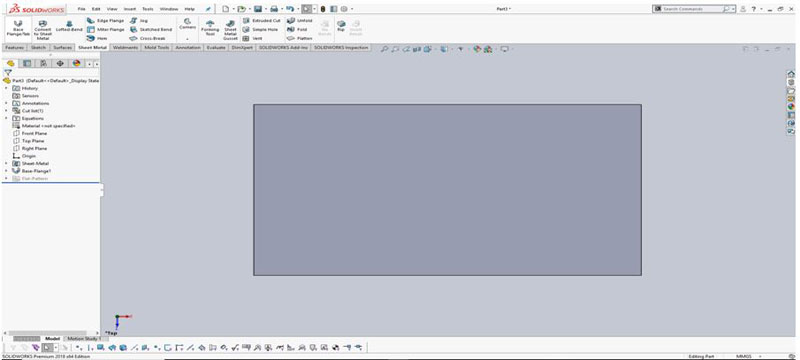
Figure 4: Creation of based flange of desired dimensions.
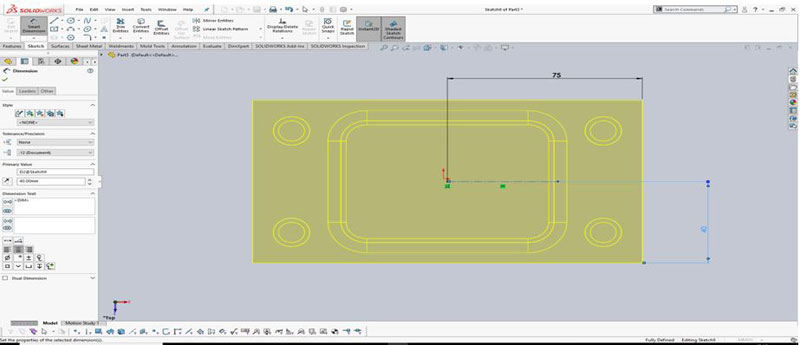
Figure 5: Positioning of forming tool from the library.
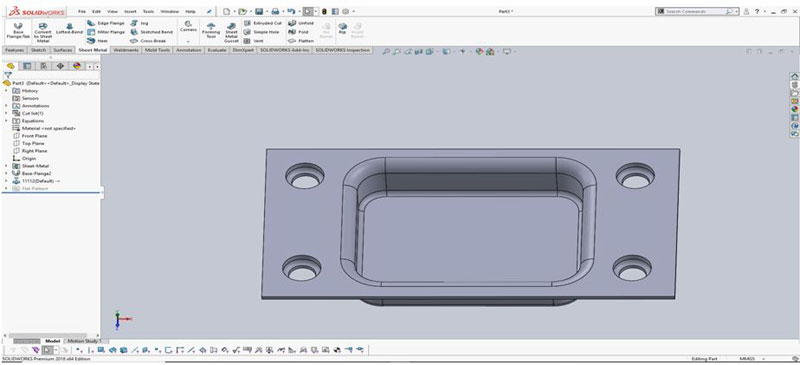
Figure 6: Final product from the forming tool option.


