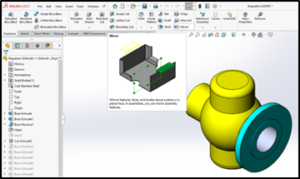
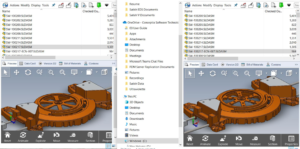
Replacing the components in an Assembly:
In an Assembly sometimes it becomes necessary to replace an existing component with a similar component. SOLIDWORKS provide an easy way to do so. The option used for this purpose is Replace Components.
Where to find
![]() Menu: File, Replace
Menu: File, Replace
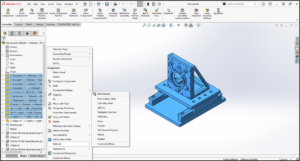
![]() Shortcut Menu: Right-click the component and click Replace components.
Shortcut Menu: Right-click the component and click Replace components.
In the replace Components option, the selected components appear under the dialogue Replace these component(s); others can be added also. Check all instances box to replace all instances of the component in an assembly. Browse for a file to substitute a different component for the existing component in the With this one field. Replace components affect selected or all instances of that component in the active assembly.
Follow these steps to replace component:
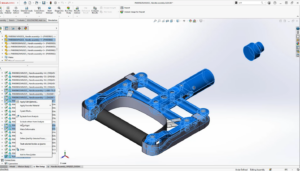
- Right click on the component from feature manager tree and click replace component. Selected instance will be listed in the replace these components, clear all instances and select Re-attach mates.
- Click browse and select the other component and select open. Click Ok. The mated entities dialogue appears.

- The mated entities dialogue appears to assist in re-attaching the failed mates. Expand the mates and select the replacement faces for each mate. After this click green check mark and then click ok.
 If you want to replace a component with the modified version of the same component, follow these steps for better results.
 - Make a copy of the component, either in windows explorer, or by using File, Save As and, use Save as copy option if required.
- Make the desired modifications to the part.
For best results in preserving the mates, the replacement component should be similar in topology to the part being replaced. If the entities name used in the mates remain same, mates will be preserved while the component is replaced.

