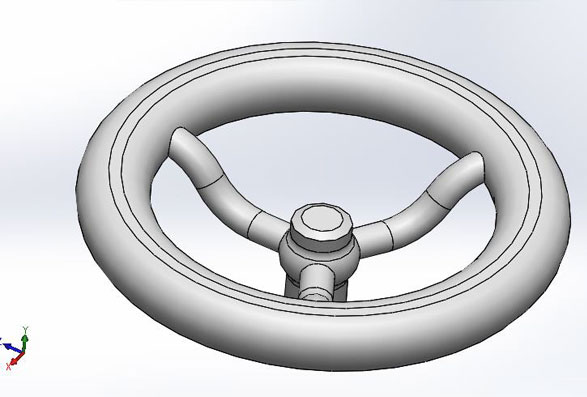
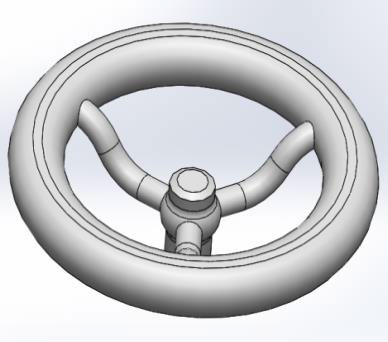
 SolidWorks is very user friendly 3D CAD Software; many complex designs can be done in a few seconds by using single command, to help SolidWorks new users on Sweep advance feature, kindly follow the steps below to complete the steering design.
By completing this example the designer can learn the complete capability of the Sweep feature.
Steering Wheel Design using SOLIDWORKS Sweep Advance Feature
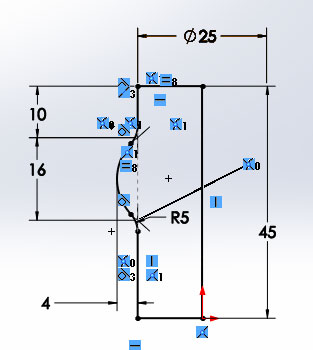
1. Create a new part using part template. Create a new sketch in the front plane as per the dimensions given below.
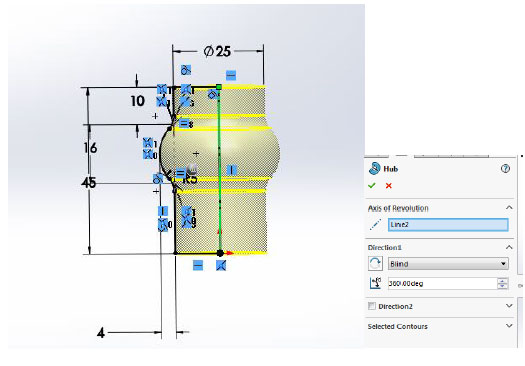
| 2. Make the Feature. By using Revolved Boss/Base feature add the material to the sketch.
|
3. Building the Rim.
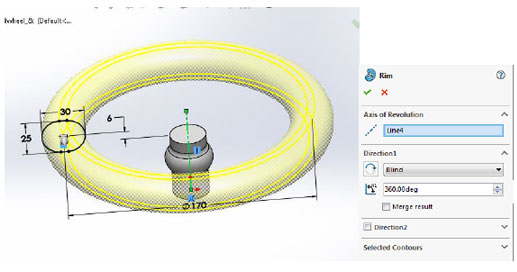
Create a new sketch on the Right plane. click counterpoint straight slot. Click Add dimensions and overall length and click OK. Place this sketch according to the dimensions given below and click Revolved Boss/Base and add the material to the sketch.
4. Create a New sketch.0
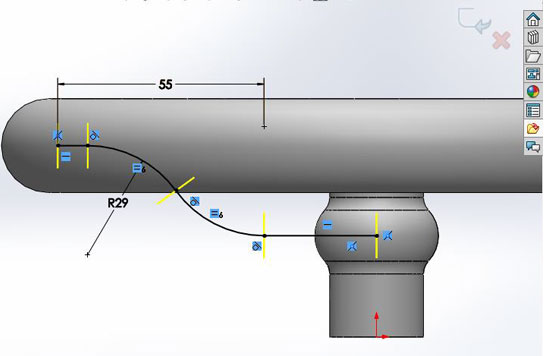
Create a New sketch on the Right plane according to the dimensions given below. Add an Equal relation to the arcs and add dimensions.
5. Creating an Ellipse.
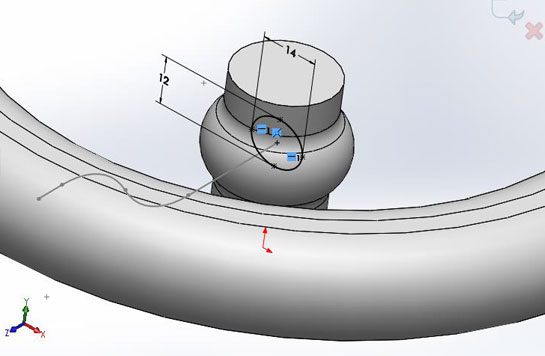
Create a new sketch on the front plane. Click Ellipse and position the centre point at the end of the line and give the dimensions as given below.
6. Sweep.
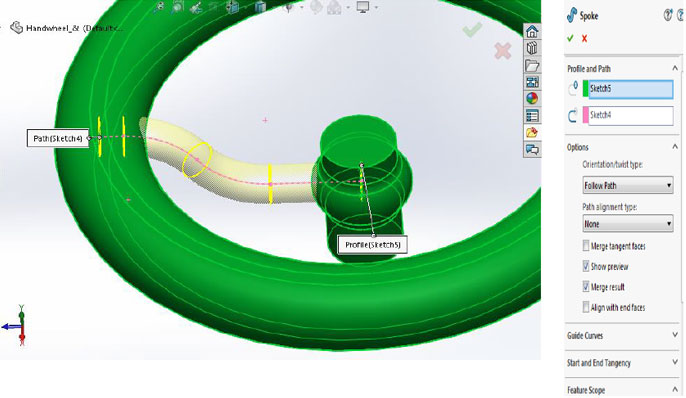
Click swept Boss\Base. Select the sketch as path and ellipse as a profile.
7. Pattern the Spoke.
Click circular pattern. Select the cylindrical face as centre of rotation for the pattern. Using the spoke, set the Number of Instances to 3 with equal spacing.


