Compare Geometry Using the SOLIDWORKS Compare Tool
The title question isn’t something I get posed all that much, but when it does, I really want to show it to users, since there is a valuable tool available to assist them. SolidWorks Utilities is a collection of tools for investigating solid models, modifying them, and comparing them. The Compare Tool, is also one of the strongest in those tools. SOLIDWORKS has four separate tests that can be used to compare two files or two model configurations: Documents, Features, Geometry, and Bill of Materials and identify the differences between them. I’m continuing to dominating Compare Geometry throughout this blog.
Compare Geometry is employed to research two versions of a file and quickly identify any geometric similarities and differences. This comparison checks the geometry of parts and assemblies to another similar file or configuration. The part comparison will check faces and volume similarities, whereas assemblies only check for volume similarities. This can be an excellent tool that works well with imported files since it only examines the geometry, and not features of a component. Comparing various revisions of a file is an easy way to understand more about design changes. Geometry can be compared in two ways: Volume Comparison and Face Comparison. Each of those will graphically show you Unchanged, unique, and modified volumes/faces of the files.
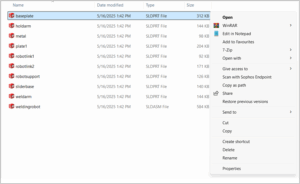
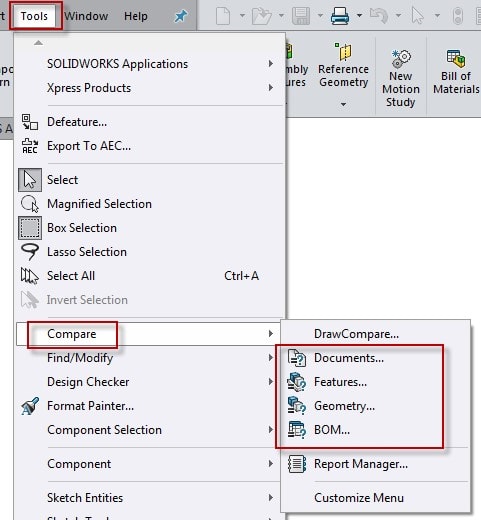
We should enable the add-in before using it by navigating to Tools > Add-Ins and checking the box for Utilities. Alternatively, we can simply just go Tools > Compare > Geometry and the Add-In will be automatically enabled and the Compare function will be activated.
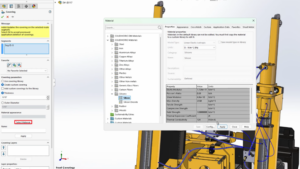
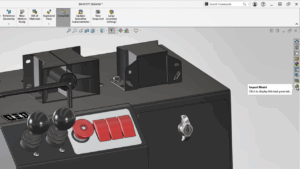
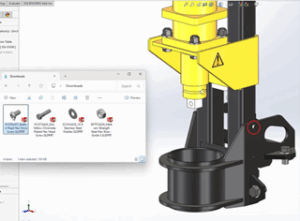
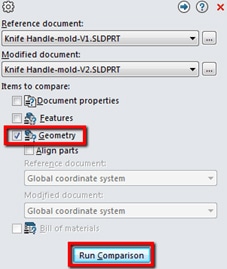
This will extend the tool in the Task Pane, allowing you to choose the two files you want to fit from the Reference document and Modified document change posture menus. If you don’t already have the files open, you can use this menu to look for them. Check the Geometry and then click Run Comparison.
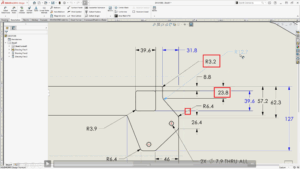
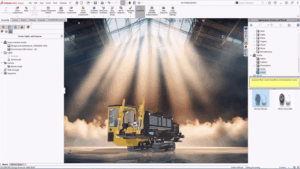
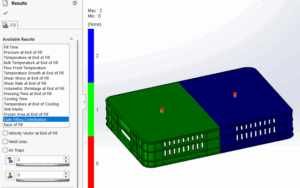
You can display the results as a Volume Comparison or a Face Comparison once the tool has finished processing. By clicking the attention button next to any of the options in the degree comparison, you’ll be able to see any combination of fabric to remove, Material to feature, or the Common Volume for each component. Each of those options are color coded and can highlight the various selections on each part.
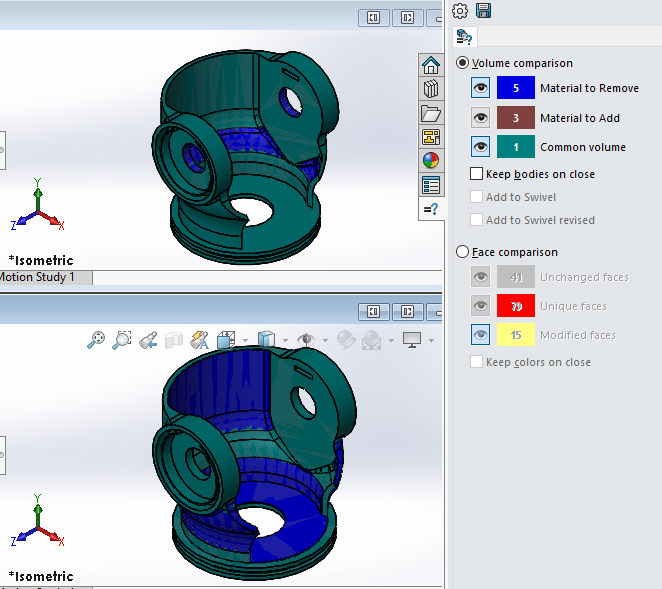
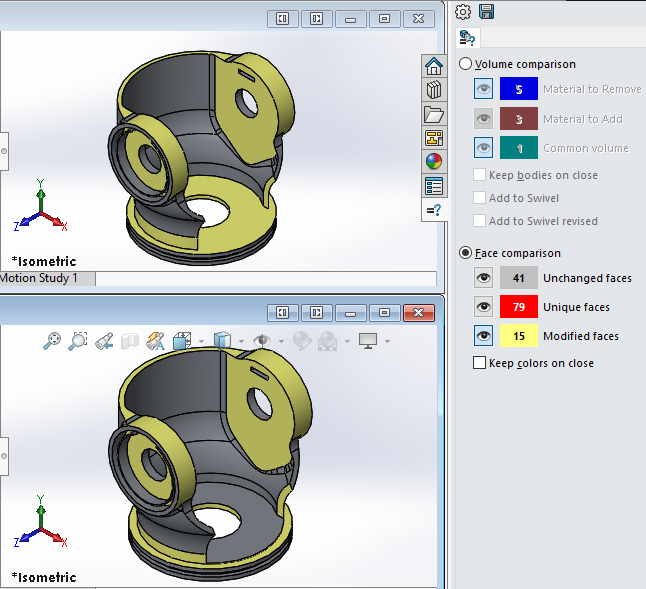
Similar steps can be applied to the Face Comparison option, where you can choose to highlight Unchanged faces, Unique faces, or Modified faces.
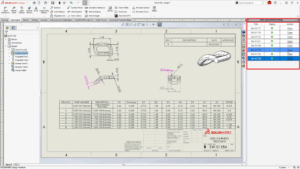
By clicking the Save icon at the top of the Compare Task Pane, these results can be saved as an HTML file . This report can be saved in the part’s Design Binder and contains summaries, specifications, and screenshots of the comparison. And just like that, we can easily see what the differences are between two versions of the same component.
Keep an eye out for the next blog.
Thank you for taking the time to read this, and best of luck with your modelling endeavors!