SOLIDWORKS has released their new version SOLIDWORK 2016 and many new enhancements have been done with it. We discussed about Sheet Metal, a new feature of SOLIDWORK 2016 in our earlier blogs. Automatic Border is also a time effective feature that is added in SOLIDWORK 2016.
SOLIDWORKS Automatic Border
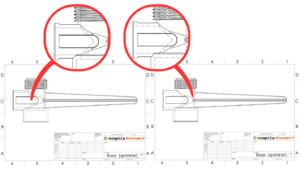
In earlier version of SOLIDWORKS, creating borders for drawing sheet templates is a very time consuming task, which requires physically sketching the border in drawing or we need to import a DXF/DWG file. There was no easy way to adjust the number of columns or rows and even to offset the border of the sheet.
Now in SOLIDWORKS 2016, this task has been drastically improved to save time and effort by introducing the Automatic Border feature. Located on the command manager under the Sheet Format tab, in Edit sheet format mode. You can also access it by right-clicking on the edit sheet format. Again by right click, you can access Automatic Border.

Automatic Border in SOLIDWORKS 2016
On selecting Automatic Border, you have the options to delete entities which you don’t want such as a title block that your existing template might have. You will notice that after adjusting the border, the entities that make up the block will not get updated automatically.
If you select the Next arrow icon, you will see a border appear on the drawing. Now you can have various ways to adjust the drawing.
- Rows
- Columns
- Margins
- Centre Zone Dividers
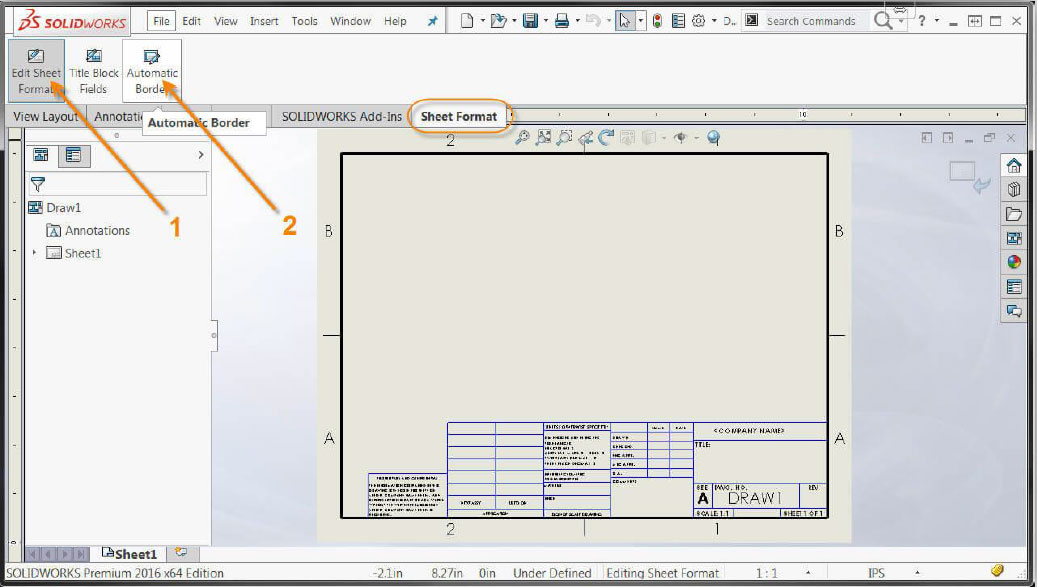
One more advantage of using this Automatic Border feature in SOLIDWORKS 2016 is that, after completing the border options, you will see it overlaid on your current drawing. At this point you can save the sheet format and it can be linked to the desired drawing.
Read more : https://help.solidworks.com/2016/english/solidworks/sldworks/c_edit_border.htm

