
SOLIDWORKS Electrical cabinet layout 2D and 3D use ducts and/or rails for routing of wires & cables, and for mounting of other components. In 2D they are represented by line art symbols, in 3D they are SOLIDWORKS Parts. The 2D symbol is associated with a manufacturer’s part data through the database.
Although the manufacturer’s database has a number of standard ones, sometimes we need to add a custom one that better suits our needs.
Let’s take a look at creating a 3D part that can adjust to the length, and profile dimensions that suit our needs better than a stock size.
To begin, there are several rules that we need to observe. The ability for the software to automatically make the adjustments depends on these.
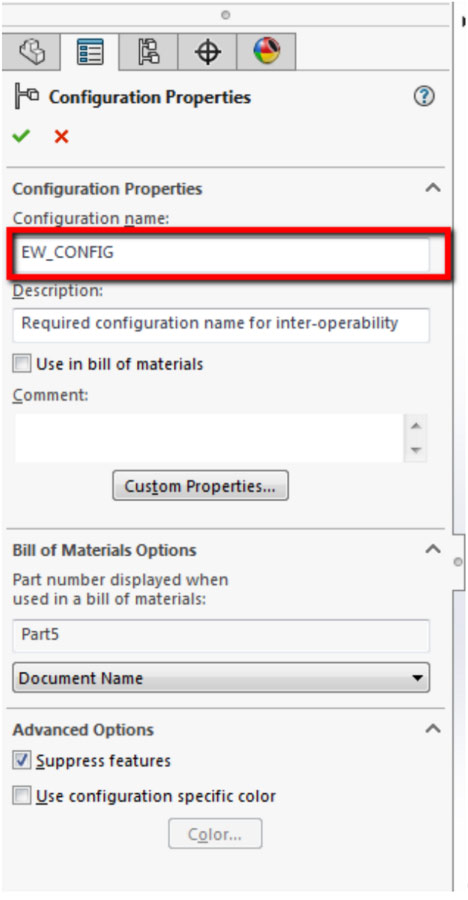
- The base configuration is named EW_CONFIG. Change the name of the default configuration from “Default” to “EW_CONFIG” when the part is first created.
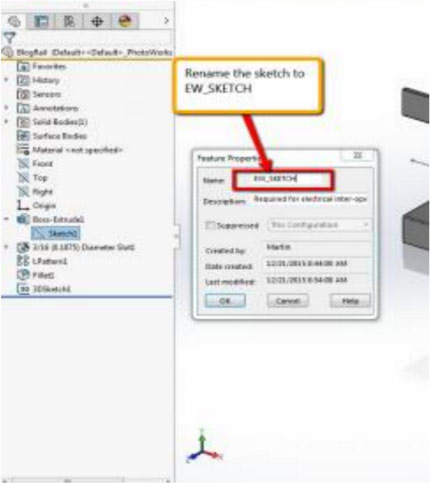
- The base sketch that will be used for the base extrusion is named “EW_SKETCH”
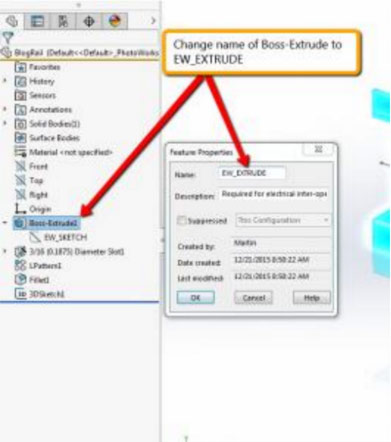
- The base extrusion feature is named “EW_EXTRUDE”.
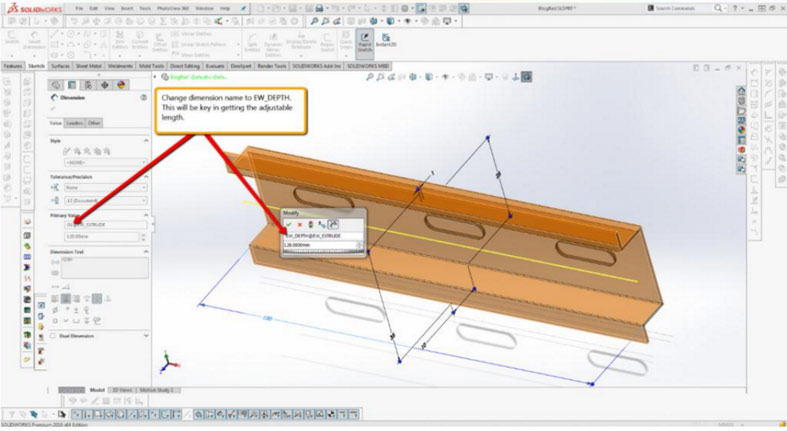
- The dimension for the base extrusion will be named “EW_DEPTH”. This is critical for making this an adjustable length part using the Change Length command in SOLIDWORKS Electrical.
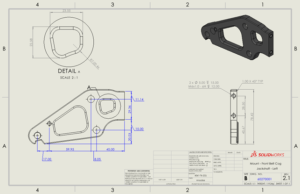
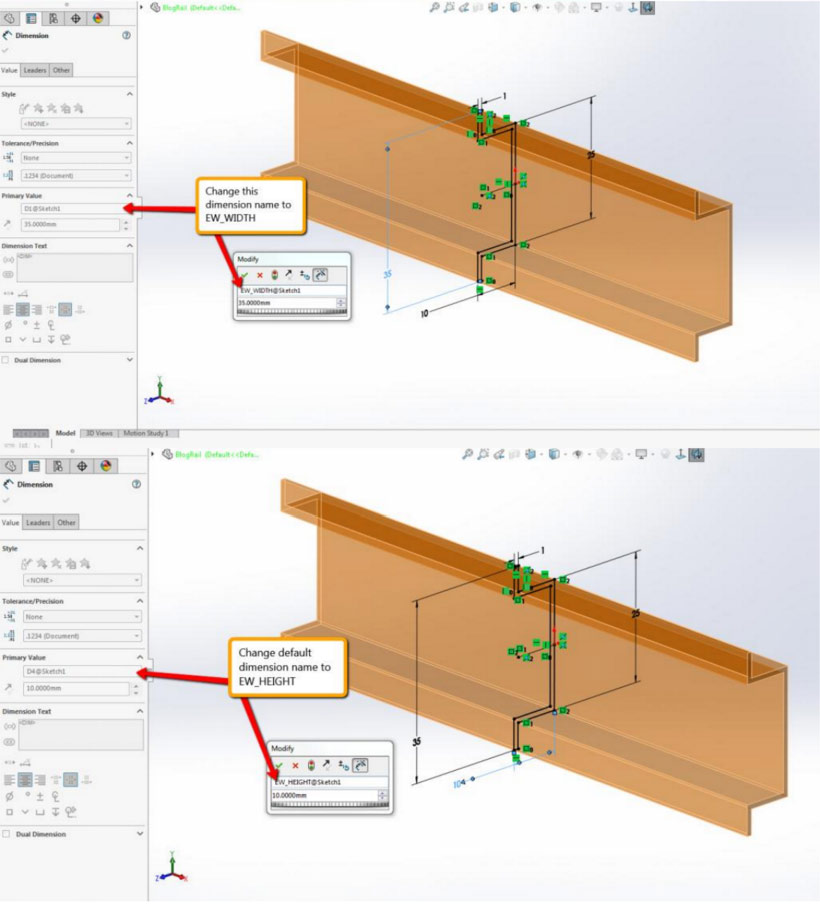
- In our profile sketch the height and width of the profile should have their dimensions named “EW_WIDTH” and “EW_HEIGHT”
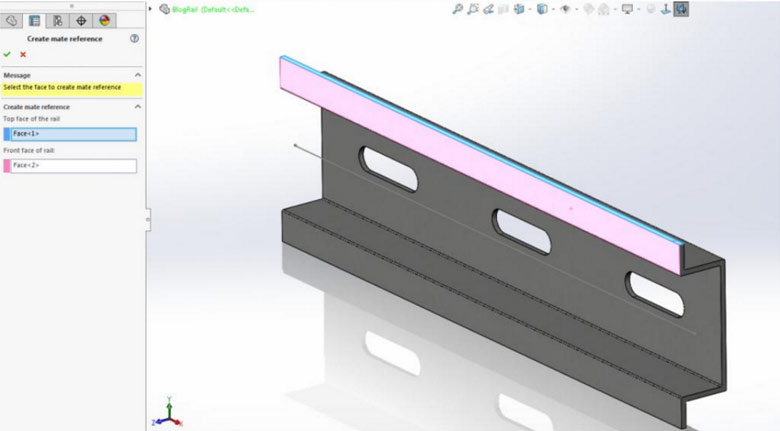
- For mating the parts on insertion they need Mate References. The back face of the part should have a mate reference named “trewback” with a single face. For mounting of other parts to this one, the top and front faces are in a reference named “trewrail35”. These can be also be created using the Electrical Component Wizard.
the configuration name to “EW_CONFIG”.
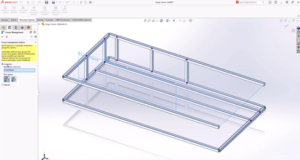
Create a 2D sketch and profile with dimensions for the width and height.
Rename this sketch “EW_SKETCH”.
Create the base extrusion using EW_SKETCH.
Rename the extrusion feature length dimension to EW_DEPTH.
For mating purposes create the mate references using the Electrical Component Wizard. First the TREWBACK reference.
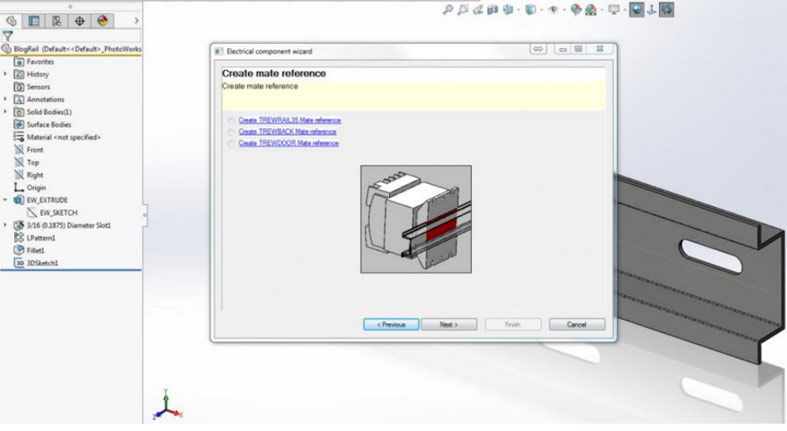
Then the top and front via the TREWRAIL35 option.
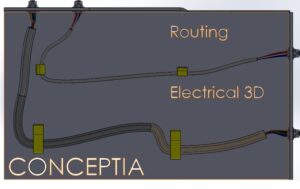
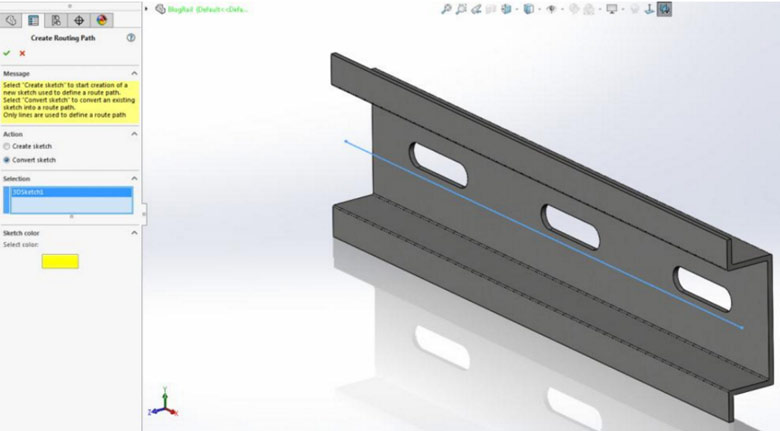
For a duct, we will also want to include a routing path. For this I created a simple 3D line sketch oriented along the length of the part. Then, used the Create Routing Path tool in SolidWorks Electrical to convert an existing sketch. The tool automatically names the feature.
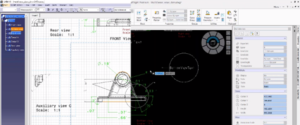
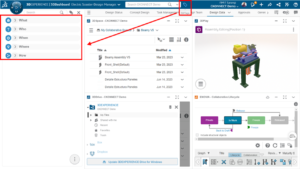
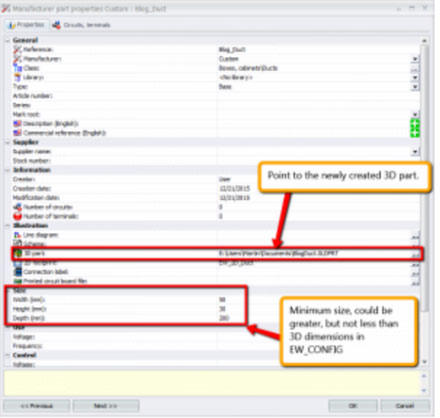
Save this part in a suitable location for use with SOLIDWORKS 2D. In a component’s manufacturer’s part data in the SOLIDWORKS Electrical 2D environment use this for the 3D part. The size values defined in the 3D part, EW_CONFIG, will be the minimum values. You can be greater than that in the 2D Manufacturer’s parts database, but not less than.
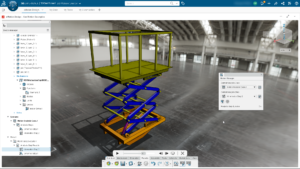
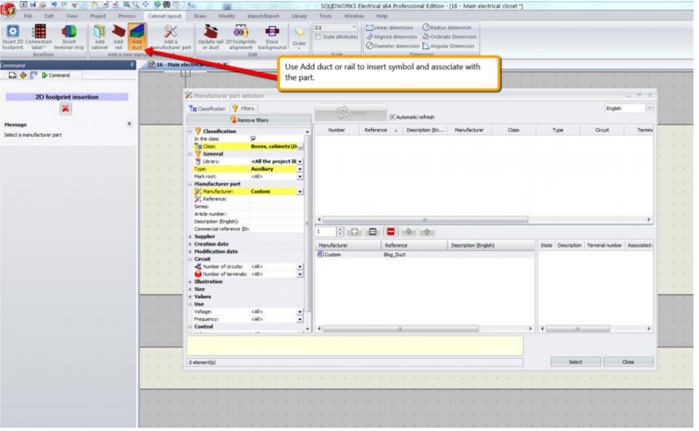
In the cabinet layout use insert duct or rail depending on the need. In the manufacturer’s part data we select the new part we created that is associated with our new 3D part.
electrical 3D model into the cabinet layout. You will need additional mating to fully define the orientation. “Insert as…” does not work with custom rail / ducts yet.
Now, when in SOLIDWORKS 3D the length can be adjusted by using the Change Length of Rail or Duct tool.
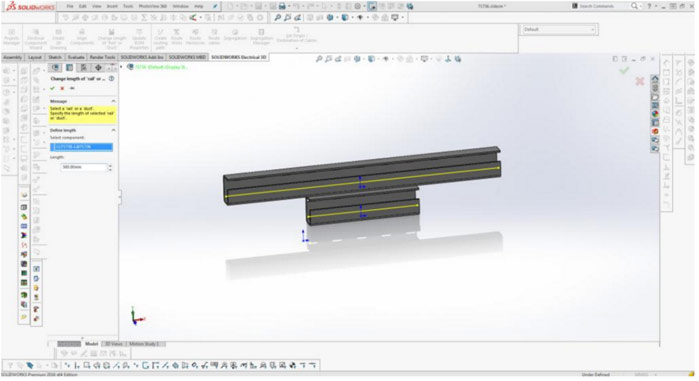
In this case I set a new length of 500mm. This also updated the 2D application as well.
With the basic rules in mind, you should now be able to create and use your own customized rail or duct part files for SOLIDWORKS Electrical.
Abhishek Jain
Application Engineer
Ckonnect