
Not all weldments are created equally. Hence we help you out to create your own custom profile and insert it into the SOLIDWORKS Library.
Create SOLIDWORKS Weldment profiles
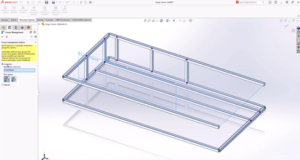
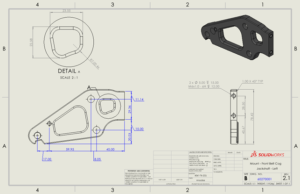
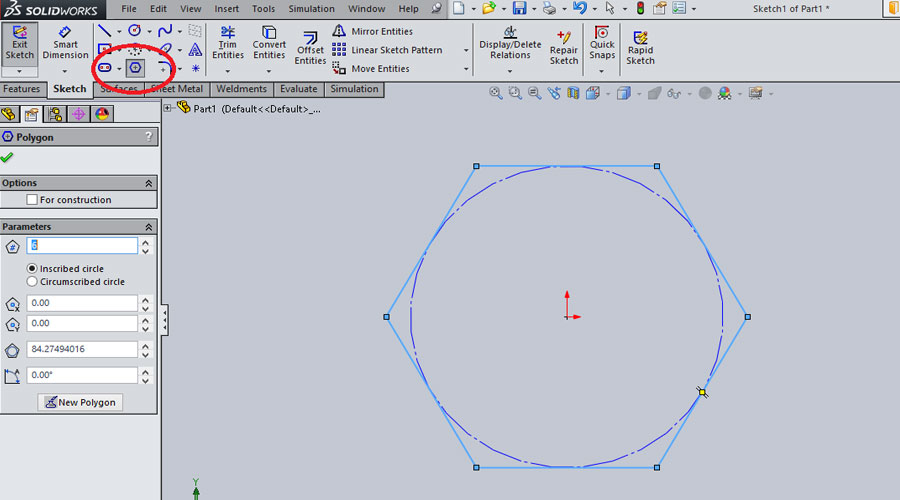
Your first step is to sketch the profile.
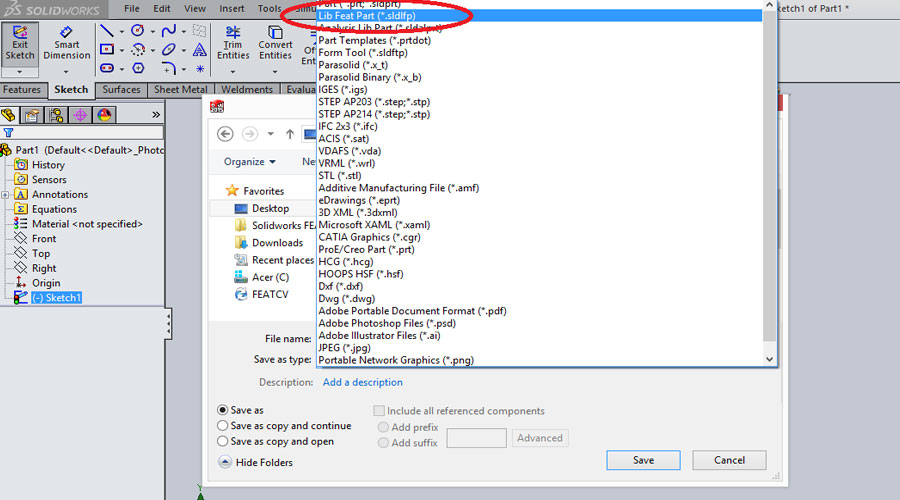
Please keep the origin as the default point of extrusion for the weldment. Once you are done with your sketch, select the sketch from the feature manager design tree, go to File > Save As. Dropdown “Save as type” select “Lib Feat Part”, give it a file name and save
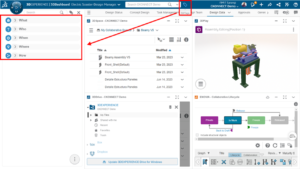
The next step is to find your weldment profile library. This can be done by going to Tools > Options. Under the System Options Tab, select “File Locations”. Under “Show folders for”, get down to “Weldment profiles” and copy the folder location. Now copy the custom weldment profile into the Weldment Profiles location.
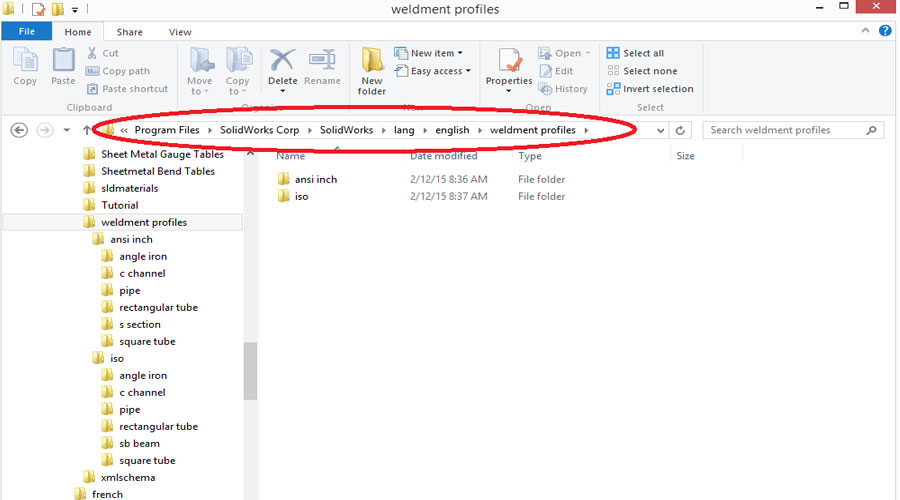
A standard profile library would look as follows:
…\weldment profiles\iso\angle\ [Weldment profile file]
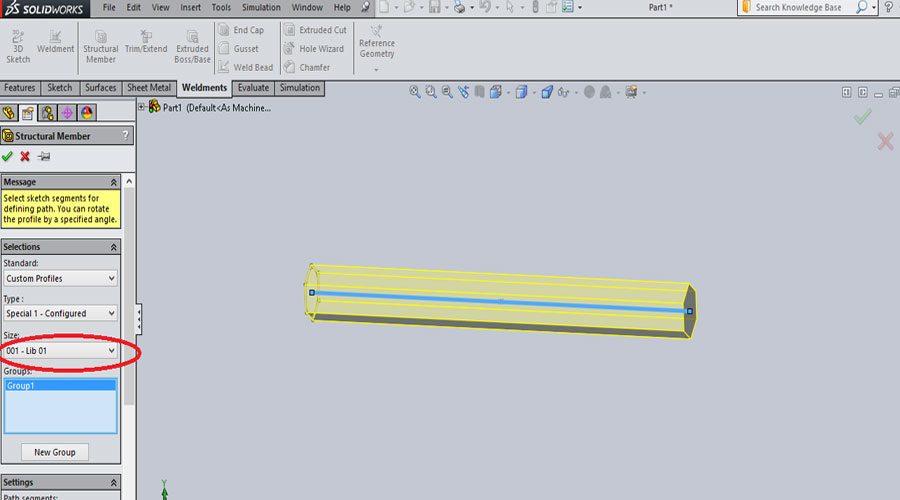
You may insert your profile under the same file structure, in this case we have created.
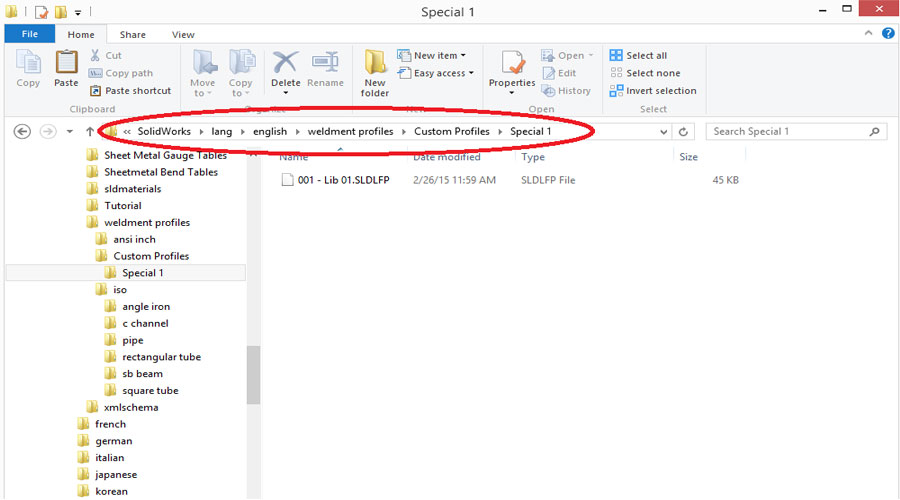
…\weldment profiles\Custom Profiles\Special 1\ [Weldment profile file]
After placing your custom weldment profile in place, you will be able to use it.